Time
Hacks and how-to guides to make life easier.

Donating clothes helps those in need and can help reduce waste. Learn when it is the right time to donate your clothes.

Some clothes are cherished items, like that sweater you got from your mother or that classic watch your spouse gave you as an anniversary gift. Those are the pieces you keep without question. But other times, there are garments that you may need to say goodbye to.
Here are some tips on when to consider letting go of your closet clutter, along with a helpful guideline for clothing donation.
Your personal style has evolved
While past trends sometimes make a comeback—think the silk and beads of '20s glamor or the flannel shirts of grunge re-imagined—there comes a point when you realize that your personal style has evolved. There's a difference between holding on to a vintage piece (is it truly vintage?) and an outfit that you never wear anymore. One is a timeless investment, while the other is wardrobe clutter. Create some closet space by getting rid of items that don't suit your current aesthetic.
If you haven't worn a piece of clothing for more than a year, it's time for it to go. Consignment stores are a great place to offload pieces that you don't need anymore.
You've physically outgrown your old clothing
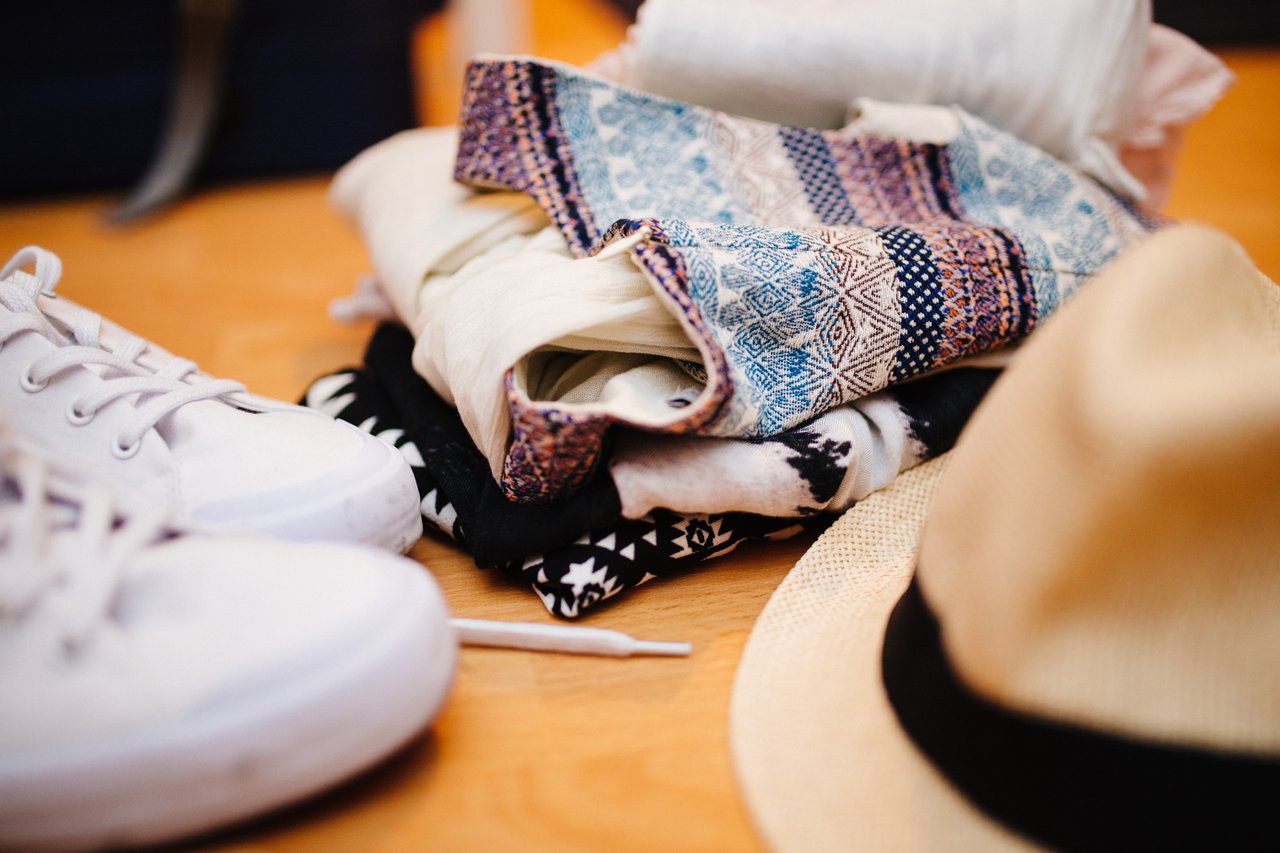
Fit is everything. No matter how great an item of clothing is, if it doesn't fit right, it doesn't belong in your closet. If you're holding onto it for sentimental value, ask yourself if you really need that sportswear from high school or your old ballet uniform from your childhood. Or, if something has a particular sentimental value to you, think about ways that you can repurpose it to extend its use—like creating a purse or pillowcase.
If you can't bear to part with a certain piece of clothing, try this intermediary trick: place the item(s) in a garment bag and put it aside for three to four months. If the item doesn't cross your mind during that time, donate it by the end of the season.
You're moving to a new city, or entering a new life stage
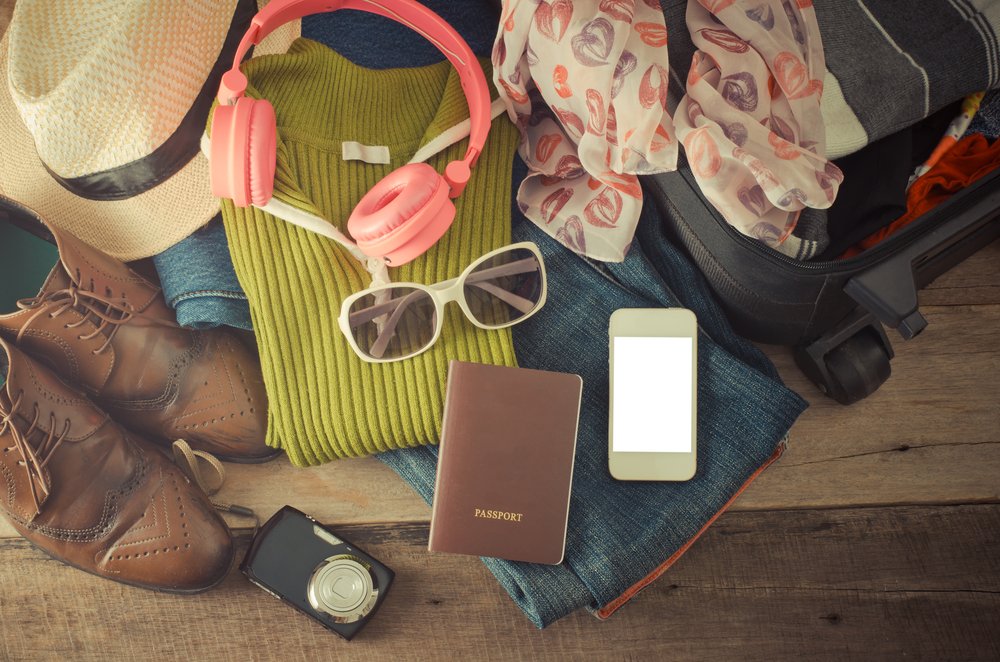
Whether you're moving to a new city or starting a new job, these changes will be reflected in your wardrobe. It's not practical to bring every single piece of clothing you own, so make use of this opportunity to declutter. Furthermore, if you're moving from a colder to warmer climate, it's the right time to donate those coats hanging in your closet—Arizona and thick winter jackets don't mix!
Sometimes the transition can be more subtle and it takes a discerning eye to decide what to keep and what to donate. Perhaps you're moving from a corporate culture to a more creative work environment or vice versa. In other cases, you might be switching coasts. Each city has its own distinctive sense of style; rely on your inner circle for a second opinion, or browse through magazines and style blogs to get a sense of what to keep and what to give away to help put your best foot forward as an acclimatized New Yorker or L.A. resident.
Clothing donation etiquette guide
Things to consider:
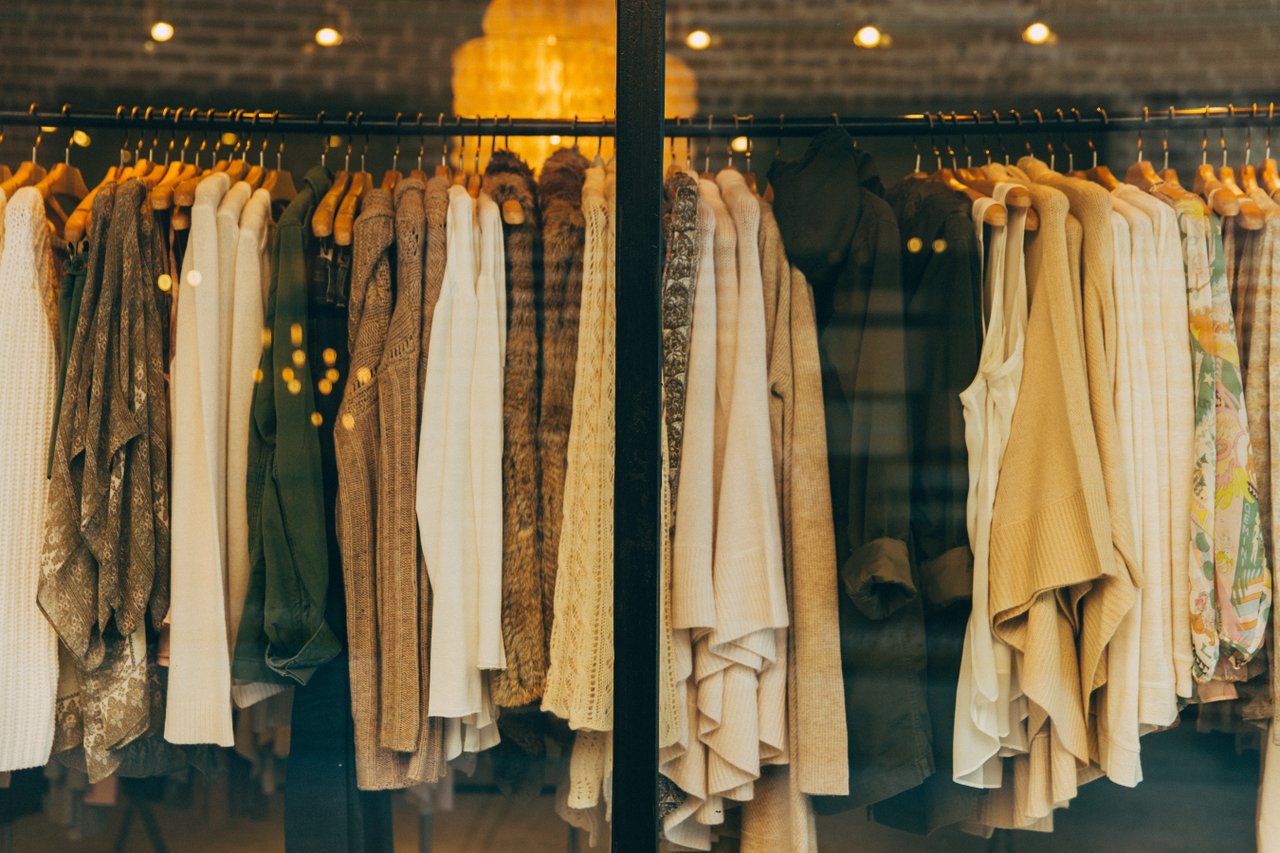
- Try to clean out your closet at least once a year, or ideally, at the end of every season. Most consignment stores won't accept clothing that's more than two years old, so keep that timeline in mind when selecting pieces to donate.
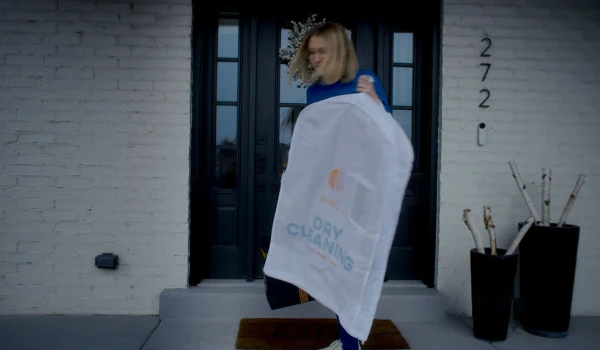
- While it might be tempting to donate stained clothing you can't seem to get clean, take your garments to a professional dry cleaning service first. They may be able to take care of any persistent stains as well as smells—they might even have clothing donation programs to help you out.
- Consult donation program guidelines when giving your clothing to charity: check for stains, rips or any defects that might make the attire unsuitable for second-hand use.
- If you have more expensive or professional pieces you're looking to donate, such as old suits or dresses, look for donation companies that specifically help outfit people for job interviews.
- As a rule, consider gently used pieces when sending your clothes to charity. You want the new owner to feel good wearing your previously loved items!
Cleaning out your closet doesn't have to be a chore. Make a party out of it and invite your best friends over to help you out. This way, you'll have a streamlined closet with only the best pieces—and someone else will be able to enjoy your unique finds.
Photos: SunKids / Shutterstock.com, Kasia Serbin, Africa Studio / Shutterstock.com, photobyphotoboy / Shutterstock.com, Hannah Morgan

This article introduces readers to the concept of laundry stripping – a popular technique for deep-cleaning clothes and removing built-up residue. We explain what laundry stripping is, how to do it step by step, and provide a laundry strip recipe.
Introduction
When it comes to laundry, the washing machine is our trusty sidekick. But did you know that a cleaning trend has been making waves — quite literally — in bathtubs across the globe? It's called laundry stripping, a technique that emerged on the screens of TikTok and quickly gained millions of views. This method promises to revive those dingy, lackluster garments in your closet, making them shine with newfound freshness.
What is Laundry Stripping?
At its core, laundry stripping is a deep cleaning method that targets the grime, dirt, and residue that regular laundry sessions might miss. Whether from body oil, hard water, or leftover detergent, our favorite garments and linens can accumulate a buildup that regular washing can't handle over time. That’s where laundry stripping steps in, promising to strip away this undesirable gunk.
To start, you'll need a few key ingredients: borax, washing soda (sodium carbonate), and Calgon or a homemade laundry detergent containing the active elements of both. These cleaning agents work together to break down and remove the buildup from your clothes. The process utilizes hot water to dissolve and activate the ingredients, ensuring a thorough cleaning.
Laundry Strip Recipe
Stripping isn't about playing with fancy, hard-to-find ingredients; it's about sticking to basics and giving fabrics the deep clean they deserve. The magical concoction that does the trick involves everyday cleaning staples that are easily available.
Ingredients and Equipment:
- Borax (Arm & Hammer's Borax is a popular choice)
- Washing Soda (Also by Arm & Hammer, and no, it's not the same as baking soda)
- Powdered Laundry Detergent (Any brand, though some prefer using well-known ones, like Tide)
- Calgon (Especially if you're dealing with hard water stains)
- A bathtub or large basin
- Hot water (as hot as you can safely manage)
For a rejuvenating soak in a standard bathtub half-filled with hot water, you’ll need:
- ¼ cup Borax
- ¼ cup Washing Soda
- ½ cup Powdered Laundry Detergent
- Optional: ¼ cup Calgon
Start by ensuring your tub or basin is clean. Fill it with hot water and then gradually add your ingredients, stirring well to ensure they dissolve fully.
Calgon acts as a water softener, and while not always necessary, it's a great addition if you have hard water. Hard water can leave mineral deposits on your clothes, affecting their look and feel. If you cannot find Calgon, a splash of vinegar can also help break down the mineral build-up.
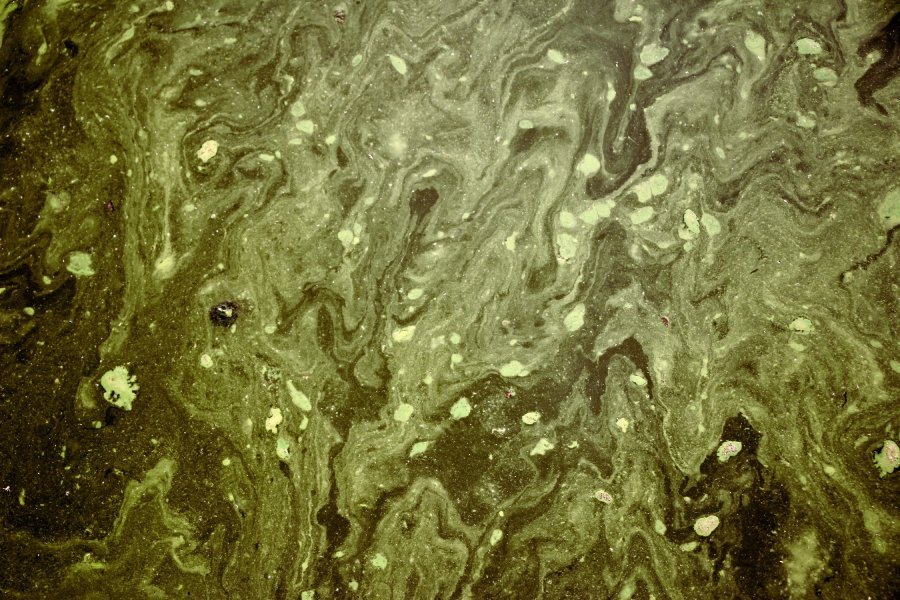
Once your mixture is ready, add in the dirty clothes, ensuring they're fully submerged. Soak the garments for several hours, stirring occasionally. As time progresses, you might be surprised (and perhaps a tad grossed out) to see the water change color. This is the residue, fabric softener, detergent, and grime being stripped away.
After soaking, rinse your clothes well and run them through a regular washer cycle. The result? Clothes and towels that look, feel, and smell cleaner than they have in ages!
How to Strip Your Laundry: Step-by-Step
Despite its viral nature, laundry stripping is more science than spectacle. It's a method designed to remove residues, buildup, and grime that regular washing may miss.
1. Collect the Laundry Items for Stripping
First and foremost, select the items you believe need rejuvenation. Common candidates are towels that have lost their absorbency, workout clothes that don't feel as fresh, or bed linens that seem dingy even after a wash. Be cautious of extremely delicate fabrics; they might not withstand the vigorous process.

2. Prepare Your Basin Or Tub
You can use your bathtub or a large basin for this process. Fill it with hot water, ensuring it's as hot as you can safely manage. The warmth helps in activating the ingredients and enhancing their cleaning properties.
Note: If your clothes or linens are not very dirty or stained, you may opt for warm water instead.
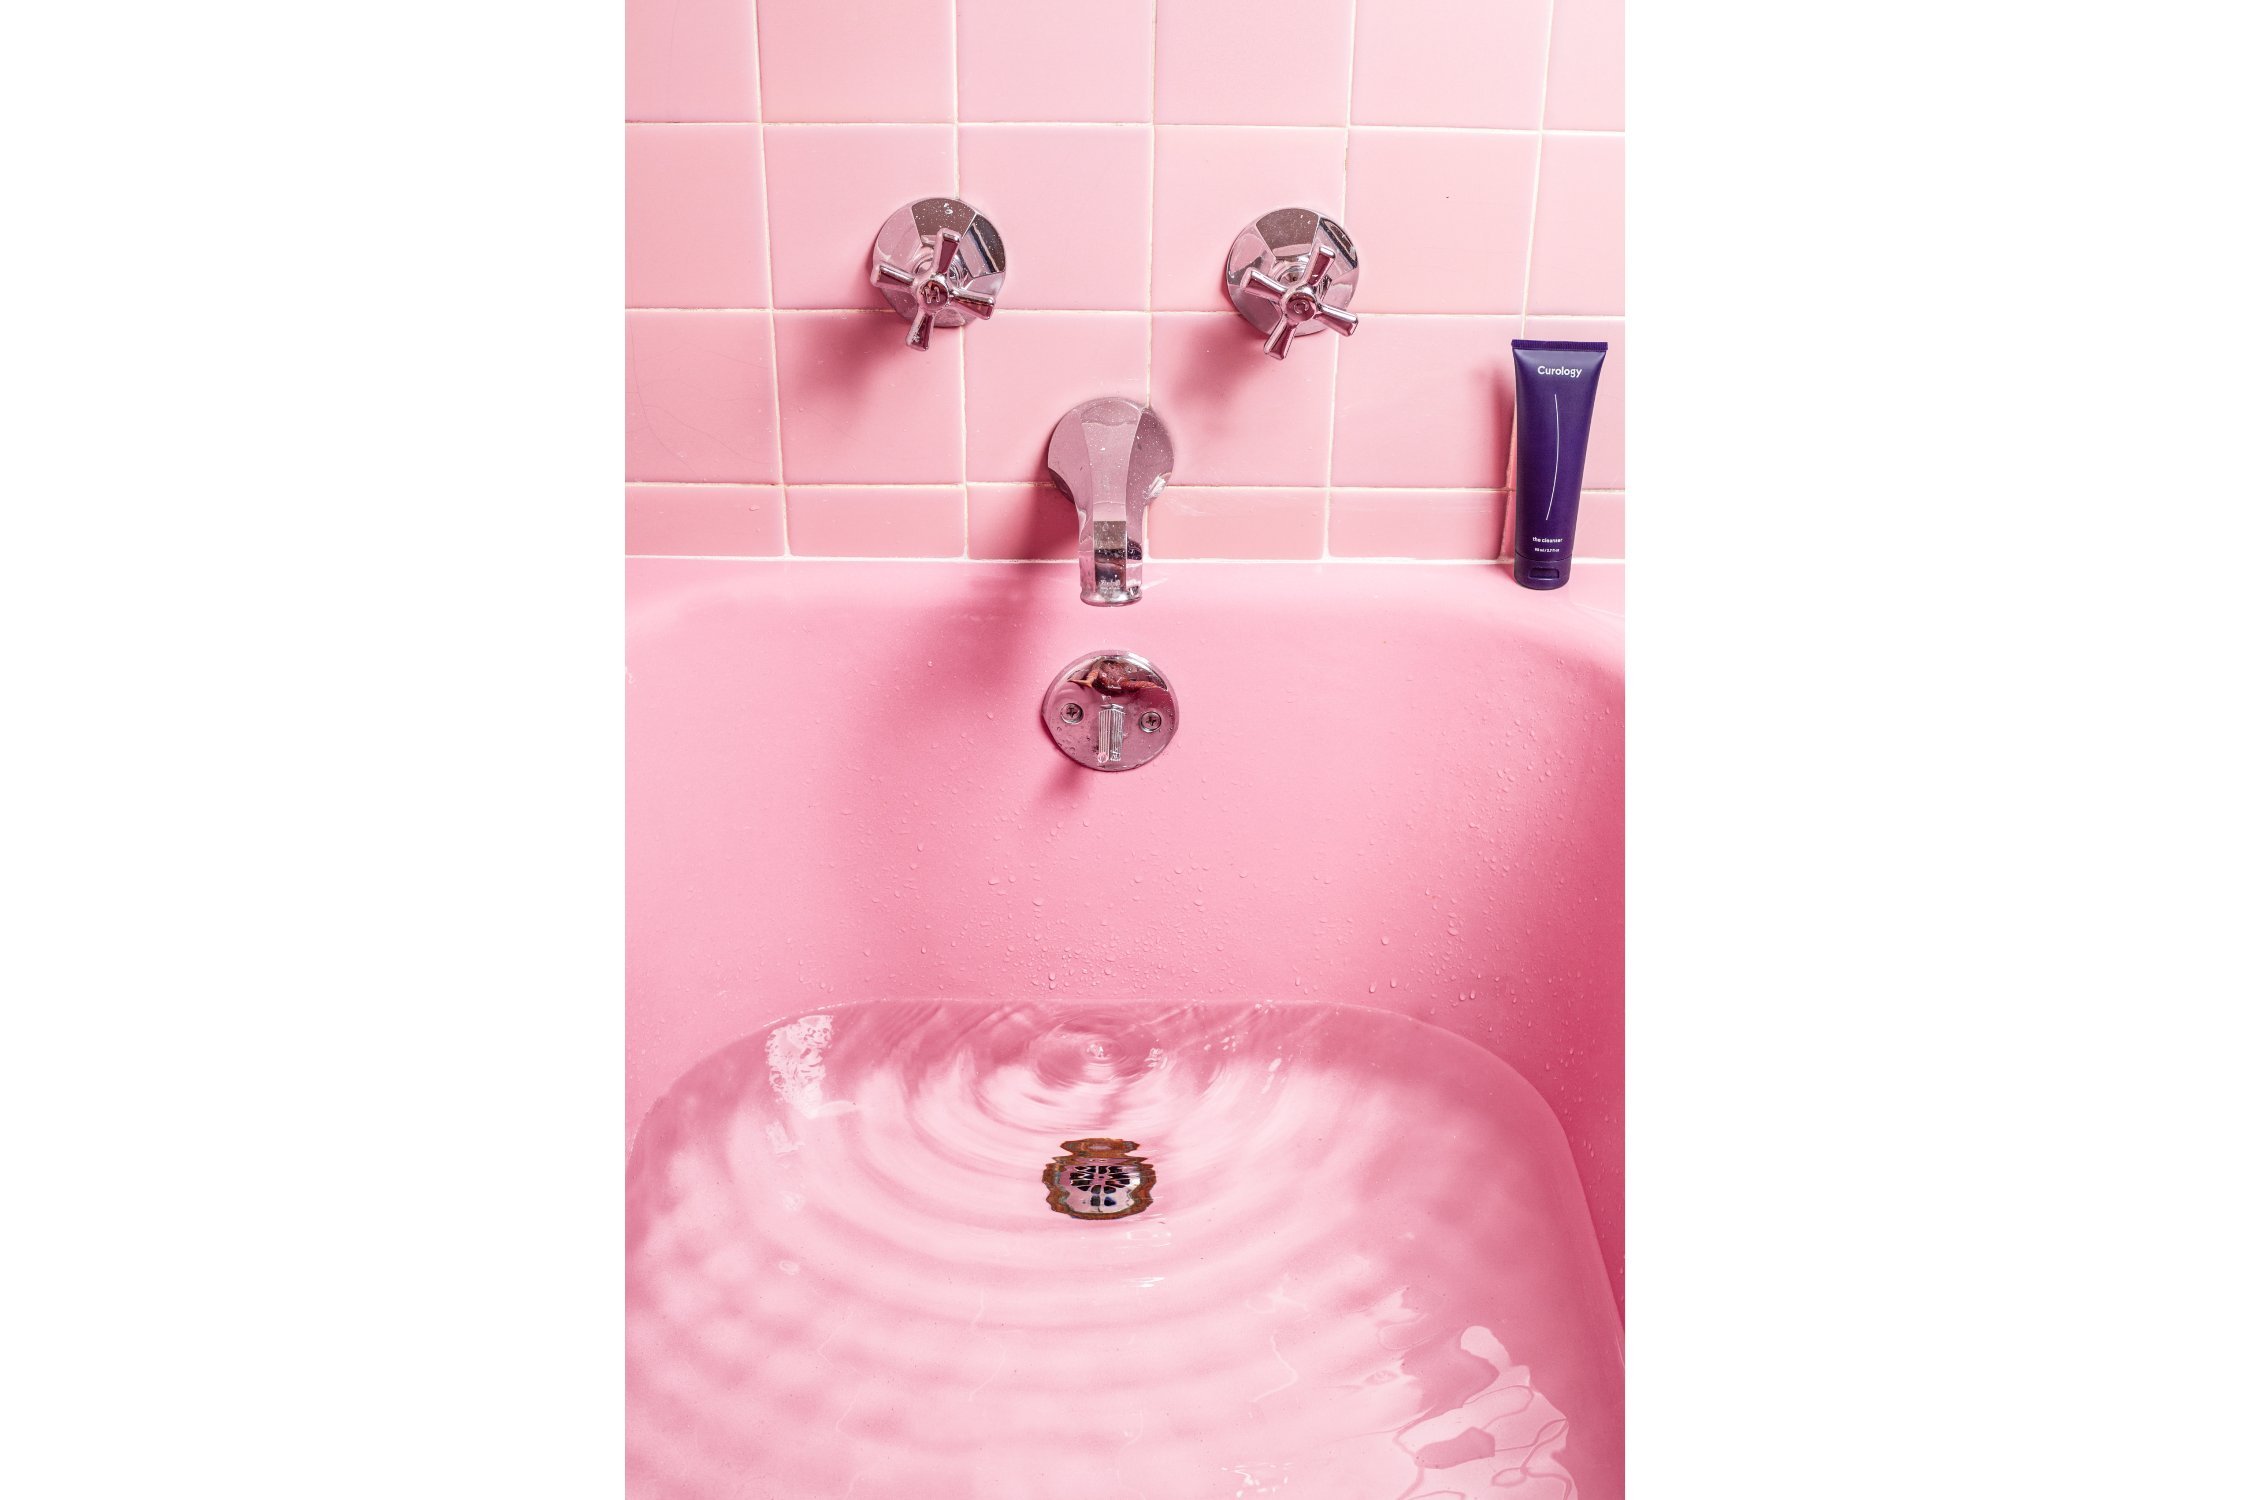
3. Add Your Laundry Stripping Ingredients
Create a cocktail of cleaning agents. For a standard-sized bathtub, mix:
- ¼ cup Borax (often found under the brand Arm & Hammer)
- ¼ cup Washing Soda (it's not baking soda!)
- ½ cup Powdered Laundry Detergent (brands like Tide work well)
If you face hard water issues, add ¼ cup Calgon as a water softener to combat the minerals. In the absence of Calgon, a bit of vinegar can also help break down those stubborn mineral deposits.

4. Immerse and Stir Your Laundry
Once your concoction is ready, gently place your clothes, towels, or linens into the tub. Ensure they're completely submerged in the solution. Let them soak, but remember to occasionally stir the mix, helping to agitate the buildup and residues of the fabric. This process should take up to six hours, and you may be surprised to see the water's transformation as it collects all the buildup and grime.
5. Remove and Give It a Final Wash
After a thorough soak, remove the stripped items from the solution. You'll likely notice a significant amount of gunk left behind in the water — a testament to the effectiveness of the strip. Run the stripped items through a regular wash cycle in your washer to remove any remaining cleaning agents. Then, dry as you normally would, but perhaps skip the dryer sheet this time to avoid reintroducing any residue.

Is Laundry Stripping Safe?
The allure of laundry stripping has been significantly amplified by viral TikTok videos, showcasing tubs filled with murky water after a good soak, illustrating the amount of muck removed from what were thought-to-be-clean textiles. But is this mesmerizing method safe for all your clothes and linens?
Laundry stripping primarily aims to remove the dingy buildup and residue that accumulates on fabrics over time. This includes remnants from homemade laundry detergents, fabric softeners, hard water minerals, and body oils. The primary agents used in the process – Borax, washing soda, powdered laundry detergent, and sometimes Calgon or vinegar – effectively target this accumulated grime.
However, there are considerations to make when determining the suitability of laundry stripping for various items:
Color and Fabric Type: Laundry stripping works best on whites, light-colored items, and specifically colorfast bath towels and bed sheets. These textiles can endure hot water cleaning without the risk of fading. Darker-colored items or non-colorfast fabrics might lose their vibrancy or suffer damage in the process.
Temperature Resilience: The technique involves soaking items in hot water, often for hours. Only clothing or bedding items that can withstand high temperatures should be subjected to stripping. Delicate items, such as lace, silk, or fabrics prone to shrinking, should be kept away from this method.
Laundry Stripping vs. Regular Washing: It's worth noting that not every piece of fabric needs to undergo this deep-clean treatment. While laundry stripping can be a revelation for revitalizing old workout clothes, towels, or bed linens that have lost their charm, it's not a replacement for regular washing. Instead, consider it an occasional spa treatment for those items that have been feeling a bit off despite regular washes.
Experience Effortless Laundry with Rinse
After diving deep into the world of laundry stripping, understanding the nitty-gritty details of removing dingy buildup, and witnessing the resurrection of towels and linens from a murky tub of residue, one can't help but ask: Isn't there an easier way?
Enter Rinse. While the fascinating world of laundry stripping, made famous by TikTok, does wonders in breathing new life into fabrics, it can be a lengthy and sometimes messy process. From the mixture of homemade ingredients to soaking and stirring, stripping is an art and a commitment.
At Rinse, we understand the beauty of clean, revitalized clothing without the hassle of extended soaking or the need to buy multiple products. Our expert services cater to various laundry needs, ensuring your clothes are free from the sludgy buildup of residue, soap remnants, and the challenges that hard water brings.
Why Choose Rinse?
- Convenience: Say goodbye to the days of working over a tub full of dirty water. With Rinse, schedule a pick-up, and our team will handle the rest. From wash to fold to delivery, your laundry is in expert hands.
- Expertise: While you might be using a combination of vinegar, powdered laundry detergent, and Calgon at home, our team at Rinse employs a blend of techniques and products to ensure your fabrics are treated with the utmost care, stripping away stains, residues, and dinginess without harming the fabric.
- Versatility: Whether it's workout clothes that have endured too many rigorous sessions, towels that have lost their plush appeal, or linens that don't feel as fresh anymore, Rinse has got you covered.
- Eco-friendly: Are you concerned about the environmental impact of bleach, excessive water use, or waste? Rinse prides itself on its eco-friendly processes, ensuring your clothes aren't just clean, but the Earth is a bit cleaner, too.
- Dedication to Quality: We don't just wash and deliver. Every garment goes through a rigorous process to ensure it's returned to you in the best condition possible, from the washer to the final fold.
In an age where convenience is king, why not hand over the reins of your laundry challenges to the experts? While stripping at home can be gratifying, Rinse offers the joy of impeccably clean textiles without the elbow grease. So, the next time you find yourself battling stubborn stains, residues, or just a pile of dirty laundry, remember: Rinse is here to make it all effortless. Experience the magic of clean, rejuvenated fabrics without lifting a finger.
Ready to revolutionize your laundry routine? Try Rinse today!

If you’re tired of spending endless hours on laundry only to end up with wrinkled clothes and stubborn stains, this guide is for you. Discover the best game-changing laundry hacks and tips, and say goodbye to your impending laundry worries. Boost your laundry routine to save time and for cleaner, fresher results!
10 Life-Changing Laundry Hacks You Didn’t Know
Laundry can be a never-ending chore, but with the right tricks, you can make it a breeze. Here are ten genius laundry hacks that will solve everyday problems and transform your routine:
-
Sort Smartly: Instead of sorting by color alone, consider sorting by fabric weight. This ensures a more balanced load and cleaner clothes.
-
Vinegar Magic: White vinegar is your laundry's best friend. Add it to the rinse cycle to soften fabrics, reduce odors, and prevent detergent build-up.
-
Mesh Bag Mastery: Keep socks and underwear together in mesh bags to avoid losing them in the wash.
-
Wrinkle-Free Wonder: To prevent wrinkles, promptly remove clothes from the washer and give them a good shake before drying.
-
Ice Cube Trick: Got a stubborn wrinkle? Place an ice cube on it in the dryer, and it'll disappear as the ice melts.
-
Air It Out: Allow your washer to air out between cycles to prevent mildew and keep your laundry smelling fresh.
-
Inside-Out Wash: To extend the life of delicate fabrics, like those lacy lingerie pieces, wash them inside out to reduce friction and damage.
-
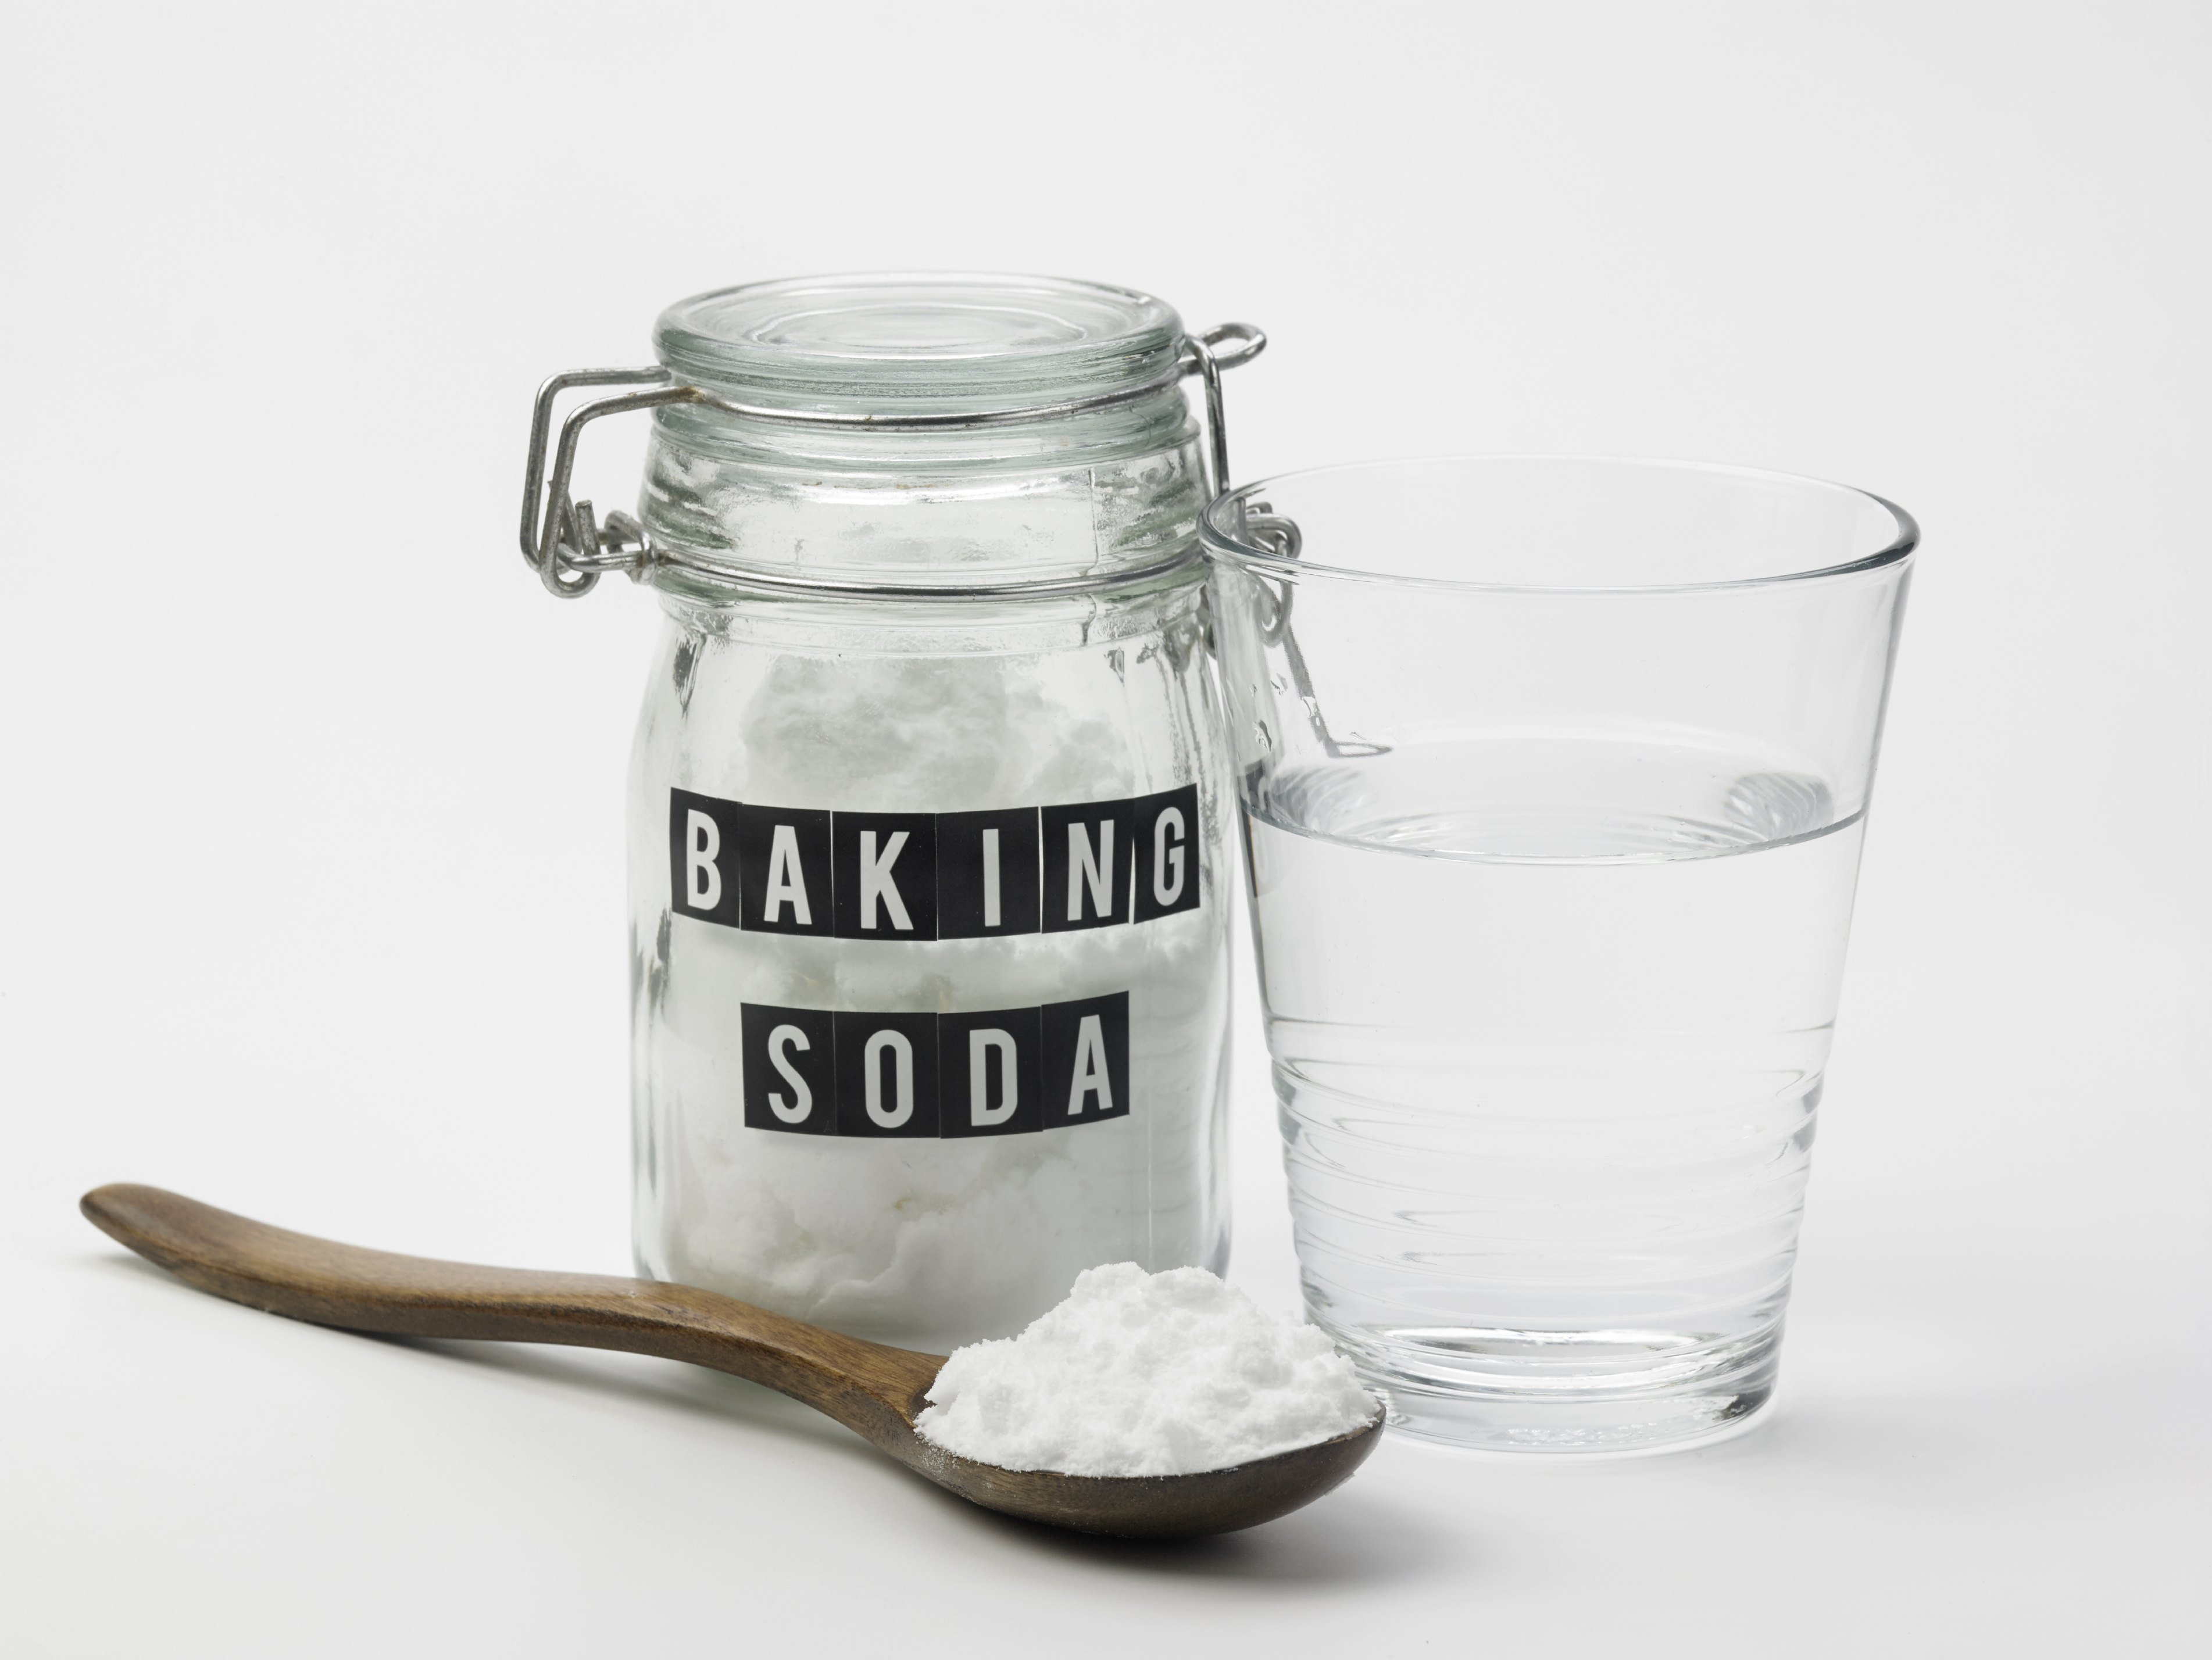
Detergent Build-Up Buster: Periodically strip your clothes by washing them with hot water and a cup of baking soda. This removes detergent residue and leaves your clothes cleaner.
-
Speed Up Drying: Toss a dry bath towel into the dryer with your wet clothes to absorb moisture and reduce drying time.
-
Roll, Don't Fold: When storing clothes, roll them instead of folding. This saves space, reduces wrinkles, and makes it easier to find what you need.
These laundry hacks will revolutionize your laundry game, making it faster, more efficient, and less stressful. Say goodbye to laundry day woes and hello to cleaner, fresher clothes!
1. Sort differently, such as by fabric weight or specific details
Consider sorting by fabric type and weight to prevent issues like garments shrinking in cold water, removing stains effectively, and ensuring your clothing lasts longer. Utilizing mesh laundry bags can also help protect delicate items like sweaters, and understanding laundry symbols can ensure proper care.
2. Let vinegar do the magic
Vinegar isn't just for salads; it's a formidable weapon against laundry woes. Whether you're dealing with stubborn stains, or lingering odors, or just want to achieve cleaner, fresher clothes, vinegar is a versatile and eco-friendly solution. Here are precise tips on when and how to incorporate vinegar into your laundry regimen:
-
Stain Pre-treatment: Before tossing your stained clothes into the washing machine, treat the stains by blotting the affected area with a solution of equal parts vinegar and cold water. This can effectively tackle common stains like coffee, wine, or grass.
-
Fabric Softening: As a natural fabric softener, vinegar helps to soften clothes, making them feel cozy and comfortable. Add half a cup of vinegar during the rinse cycle instead of chemical-laden fabric softeners. This step will leave your laundry feeling soft without any harsh residues.
-
Lint Reduction: To minimize lint on your clothes, place a dryer ball (you can add a few drops of vinegar for extra effectiveness) in your dryer. This will help reduce lint buildup and keep your laundry looking clean.
-
Eliminate Baking Soda Residue: If you've used baking soda as a cleaning agent in your laundry, add vinegar during the rinse cycle to ensure all traces of baking soda are thoroughly removed from your clothes.
-
Brighten and Soften Towels: For vibrant and soft towels, add vinegar during the rinse cycle. This will help to maintain the fabric's quality and ensure it remains fluffy and absorbent.
3. Use mesh bags to keep socks and underwear together
Mesh bags are designed to keep small and delicate items, such as socks and underwear, organized and protected during the washing process. Here's how to make the most of mesh bags:
-
Loading Strategy: Place your socks and underwear inside the mesh bag before adding them to your main wash load. This prevents them from getting entangled with larger garments.
-
Secure Closure: Most mesh bags feature a convenient zipper closure. Ensure it's zipped securely to prevent any items from escaping during the wash.
-
Choose the Right Cycle: Opt for a gentle cycle on your washing machine when using mesh bags. This reduces the risk of excessive agitation that could damage delicate items.
4. Prevent wrinkles by promptly removing clothes from the washer
The washing machine's final spin cycle can leave your clothes in a twisted and wrinkled state. When left in the washer, these wrinkles can set in, making it much more challenging to achieve a wrinkle-free look later. By taking action right after the wash cycle ends, you can prevent this from happening:
-
Set a Timer: As soon as the washing machine signals the end of the cycle, be ready to take action. Set a timer for a few minutes if needed to ensure you don't forget.
-
Act Quickly: Open the washing machine and remove your clothes promptly. If you're transferring them to a dryer, do so without delay. If you prefer air-drying, hang them up immediately.
-
Smooth Them Out: Give each garment a gentle shake and smooth it out with your hands. This simple step can help eliminate wrinkles even further.
-
Enjoy Wrinkle-Free Clothes: By following these steps, you'll find that your clothes are much easier to iron if ironing is necessary at all.
5. Use ice to remove wrinkles
When you add a few ice cubes to your dryer along with your wrinkled clothes, something magical happens. As the dryer runs, the ice cubes melt and turn into steam. This steam creates a microenvironment inside the dryer, which helps relax the fabric fibers, ultimately releasing those stubborn wrinkles. Here's how to do it:
-
Start by selecting the clothes that need wrinkle removal and place them in your dryer.
-
Add a handful of ice cubes to the dryer. The number of cubes can vary depending on the size of your load and the severity of the wrinkles.
-
Set your dryer to its lowest heat setting and run it for approximately 10-15 minutes.
-
Promptly remove your clothes from the dryer, and you'll be amazed at the results.
6. Allow the washer to air out between cycles for more freshness
Washing machines are constantly exposed to moisture and detergent, creating an environment where mold and mildew can thrive. Allowing your machine to air out helps in drying up any remaining moisture, reducing the chances of foul odors lingering in your clothes and laundry room. Try the following:
-
Leave the Door Ajar: After completing a laundry cycle, leave the washing machine door slightly ajar. This simple act allows air to circulate inside the machine, preventing moisture buildup and odors.
-
Clean the Gasket: Ensure that the rubber gasket around the door is clean and dry. Wipe it down with a towel or cloth after each use to prevent moisture retention.
-
Empty the Detergent Drawer: Remove the detergent drawer and empty any remaining water or detergent. This prevents the buildup of detergent residues that can contribute to unpleasant smells.
-
Run a Cleaning Cycle: Periodically, run an empty hot water cycle with a cup of white vinegar to clean the interior of your washing machine and keep it smelling fresh.
-
Use Aluminum Foil: Place a small sheet of aluminum foil in the drum of your washing machine to absorb scents between washes.

7. Extend the life of delicate fabrics by washing them inside out
Delicate fabrics require extra care to ensure they remain in pristine condition over time. One effective technique to protect these garments from wear and tear is to wash them inside out. This practice preserves color and print, reduces pilling, and prevents snags. You can further protect your delicates if you:
-
Use a mesh laundry bag to provide an extra layer of protection. Place the delicate garment inside the bag before washing it to further minimize contact with other items.
-
Choose a mild, delicate-specific laundry detergent to clean these fabrics effectively while being gentle on the fibers.
-
Avoid using bleach or stain removers, as they can be too harsh for delicate fabrics. Instead, treat stains with a mild stain remover specifically designed for delicate materials.
8. Strip clothes to avoid detergent build-up
Stripping clothes is a process that helps eliminate these issues, leaving your garments cleaner and fresher. To strip your clothes effectively, follow these steps:
-
Gather Your Materials: You'll need hot water, bleach, borax, washing soda, and your soiled garments. Ensure you're wearing gloves and working in a well-ventilated area when using bleach.
-
Fill the Bathtub: Start by filling your bathtub with hot water. Make sure there's enough water to submerge all the clothes you want to strip.
-
Add the Ingredients: Mix in a cup of borax, a cup of washing soda, and a half cup of bleach. Stir the water to dissolve these ingredients.
-
Submerge the Clothes: Place your clothes in the bathtub, making sure they are fully submerged in the water. Use a mesh laundry bag for delicates.
-
Soak and Agitate: Allow the clothes to soak for several hours or overnight. Periodically agitate the water to help dislodge the detergent buildup and residues.
-
Rinse Thoroughly: After soaking, drain the bathtub and rinse the clothes thoroughly with cold water until all the detergent, bleach, and residues are gone.
-
Air Dry: Finally, air dry your garments on a drying rack or clothesline.
9. Dry clothes faster with dry bath towels
This clever laundry hack involves using dry bath towels in your dryer. The concept is simple but effective: by placing dry towels in with your wet laundry, you can significantly reduce drying time and, consequently, save on energy consumption. This technique is particularly advantageous for bulkier items or larger loads, ensuring your clothes dry faster and also helps prevent issues like shrunken garments, which can occur with prolonged exposure to high heat.
10. Optimize your storage space by rolling your clothes
For a space-saving alternative to traditional folding for your clothes, consider the technique of rolling. Rolling your clothes can be especially advantageous when dealing with limited storage space, such as in drawers or suitcases. This method not only helps maximize the available space but also allows for quicker access to your clothing items.
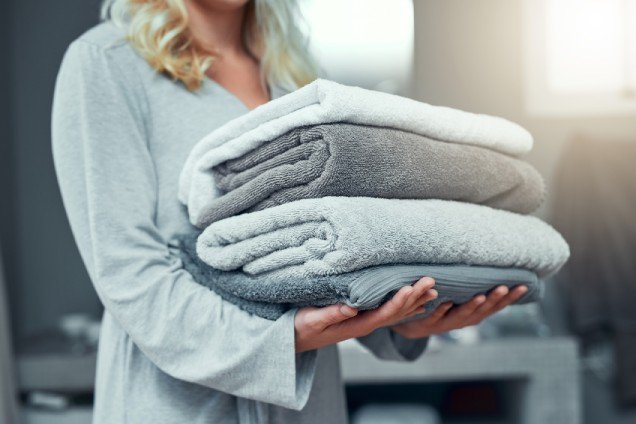
Laundry? Worry no more!
In the quest for cleaner, fresher clothes while saving valuable time, these laundry hacks are your trusted companions. From effective stain removal techniques to preventing shrunken garments, these tips are game-changers.
However, if you ever seek a helping hand in your laundry endeavors, remember that professional laundry services like Rinse are here to assist. With our expertise and commitment to quality, we can further simplify your laundry routine. Make laundry a breeze today!
Contact us at Rinse to see our skill in action.

Introduction
Ensuring a clean and sanitized living space is imperative, especially when recovering from an illness. The bedroom, being a place of rest and recovery, demands particular attention – with a major focus on the bedding. Clean bedding plays a crucial role in preventing the spread of germs, potentially resulting in a faster recovery and ensuring a healthier sleeping environment. When you're sick, your bed can become a breeding ground for bacteria, viruses, and allergens. Sweat, skin cells, and other bodily fluids can contribute to this buildup, creating an environment that can prolong illness and affect overall health. The sheets, pillowcases, and duvet all need proper sanitation to ensure they are free from germs and bacteria.
Keeping Your Bedding Germ-Free
Unclean bedding can be a hotbed for germs and bacteria, which can exacerbate symptoms and prolong the period of illness. Dust mites, bacteria, and fungi can thrive on the mattress, pillow, and linen, especially when they are soiled with sweat, dead skin, and other bodily fluids. Bed sheets and pillowcases can harbor viruses like the flu for several hours or days, depending on the material and environmental conditions. For instance, the influenza virus can survive on bed linen for up to 7 days, making it imperative to clean your bedding promptly.
1. The Risks of Not Washing Your Bedding After Being Sick
Not sterilizing your bedding after an illness can lead to various risks. There's a possibility of re-infection, as the germs and bacteria lingering on the bed sheets and pillowcases can remain active for a significant duration. Allergens can accumulate, potentially leading to asthma attacks or allergy symptoms, further complicating the recovery process. Furthermore, the bed can become a source of infection for others who come into contact with the contaminated linens.
2. The Importance of Prompt and Thorough Cleaning
To ensure that your bedding is free from germs, bacteria, and allergens, prompt and thorough cleaning is necessary. Washing in hot water is crucial, as it helps to kill the majority of germs and disinfect the linen. Using a laundry detergent that contains bleach or hydrogen peroxide can provide an additional layer of disinfecting power. Ensure to set your washing machine to the hottest setting that is safe for the fabric, as higher temperatures are more effective at sanitizing.
After washing, make sure to properly dry the bedding. Using a dryer on a high heat setting helps to kill any remaining germs and ensures that the bedding is completely dry, preventing the growth of mold and mildew. Don’t forget items like pillows and blankets, as they are just as susceptible to germ buildup.
3. Considering Professional Cleaning Services
For a thoroughly sanitized sleeping environment, considering professional cleaning services can be a wise choice. Companies like Rinse specialize in providing top-notch laundry services, ensuring that your bedding is cleaned, disinfected, and returned in pristine condition. We understand the significance of maintaining a germ-free environment, especially post-illness, and employ the highest standards in our cleaning processes. Opting for professional services ensures that every nook and cranny of your bedding is attended to, effectively eliminating lingering germs and bacteria.

How to Wash Bedding After Being Sick
Follow these critical steps and considerations to effectively clean your bedding and ensure a hygienic sleeping environment:
1. Temperature
Using the right temperature setting on your washing machine is crucial when washing bedding after an illness. As mentioned above, for effectively killing bacteria, viruses, and fungi, it is recommended to use the hottest water setting that the fabric can handle. Most laundry detergents work more efficiently in warm water, and higher temperatures help disinfect the bedding more effectively. However, it is important to check the care labels on your bed linens, duvet, and blanket to ensure that the fabric can withstand high temperatures without damage.
2. Detergent and Sanitizing Laundry Additives
Choosing the right detergent and laundry additives is essential for effectively sanitizing your bedding. Opt for a laundry detergent that contains disinfectant properties or is specifically designed to kill germs. Bleach is a powerful disinfectant; however, it’s important to use it cautiously and ensure it is suitable for the fabric you are washing. For those looking for a less harsh alternative, hydrogen peroxide-based detergents can also be effective in eliminating germs and bacteria. Additionally, there are laundry sanitizers available on the market that can be added to your wash cycle to enhance the disinfecting process.
3. Loads
Ensuring that you do not overload your washing machine is key to effectively cleaning and sanitizing your bedding. Overcrowding the machine can prevent the laundry detergent and water from circulating properly, resulting in less effective cleaning. It's best to wash sheets separately from other items and avoid stuffing the machine to its full capacity. This ensures that the hot water and detergent can reach all parts of the sheets, ensuring thorough cleaning and disinfection.

Other Things You Should Wash After Being Sick
1. Clothing and Bedding Accessories
Your regular clothes, blankets, and sheets have likely been exposed to germs during your illness, making it crucial to give them a thorough wash. Same story here – use hot water and a laundry detergent with disinfectant properties to ensure all viruses and bacteria are eliminated. Don’t forget about smaller items like pillowcases and towels, as they are in direct contact with your skin and can harbor germs.
2. Personal Items
Items such as stuffed animals or personal items can be breeding grounds for germs. Wash or disinfect these items according to the manufacturer's instructions. For items that can’t be washed, a good airing out or a wipe-down with a disinfectant can help remove allergens and germs.
3. Mattresses and Pillows
While you can't toss your mattress or pillows in the washing machine, you can still sanitize them. Vacuum the mattress to remove dead skin and dust mites, and consider using a disinfectant spray that’s safe for fabrics. Pillows can often be washed in the washing machine on a gentle cycle using hot water and laundry detergent.
4. Frequently Touched Surfaces
Don't forget about the non-fabric surfaces. Disinfect frequently touched areas such as door handles, light switches, and remote controls. Use a suitable disinfectant to kill any lingering germs.
Incorporating these cleaning practices post-illness ensures that you create a sanitized, safe environment, reducing the risk of allergies, asthma attacks, or reoccurring sickness. Give everything a good clean and enjoy a healthier recovery and a fresher living space.

Maintaining Cleanliness for a Speedy Recovery
Key cleaning takeaways include:
Bedding and Linens
Use hot water and a high-quality laundry detergent for your bed linens, duvet, and sheets, preferably one that contains disinfectant properties or additives like hydrogen peroxide that are known to kill viruses and bacteria. If you’re dealing with stubborn stains or areas soiled with sweat or other bodily fluids, pre-treat these areas before tossing them in the washing machine.
Mattresses and Pillows
Vacuum your mattress to remove dead skin, dust mites, and other allergens. For pillows, check the care label to see if they can be washed, and use the appropriate settings if they can. If not, airing them out in the sun can help to sanitize and freshen them up.
Beyond the Bedroom
Any dirty or soiled items in the vicinity, such as clothing and personal belongings, should also be thoroughly cleaned. Ensure all frequently touched surfaces in your home are disinfected to prevent the spread of germs.
Professional Cleaning Services
For those who want to ensure a thorough cleaning or perhaps don’t have the time or energy to do it themselves, professional cleaning services like Rinse offer a convenient and effective solution. Rinse specializes in sanitizing and deep cleaning bedding, towels, and clothing, ensuring that everything is washed, dried, and returned to you in pristine condition. This not only helps in creating a germ-free environment but also aids in alleviating symptoms of allergies and asthma caused by dust mites and other allergens.
Implementing these cleaning practices ensures that you are not just cleaning but actively sanitizing your living space, creating a safe and clean environment conducive to recovery!
Contact us at Rinse today to see our skill in action.

Have laundry or dry cleaning to do?
Rinse picks up, cleans and delivers 7 days a week. Amazingly awesome. Ridiculously simple.

Uncover the benefits of a well-organized chore list for fostering household efficiency and harmony. From daily bed-making to monthly deep cleaning, we got you! Explore the different types of tasks, including laundry, cleaning, and organization, and learn how to streamline your chore management to find more time to focus on the essentials.
Introduction
Household chores seem to be a never-ending life task that is more overwhelming than tedious. It doesn't take too long to get your home in order, but just seeing a mess and disorder can make you want to procrastinate for as long as humanly possible.
But procrastination is not the solution. Instead, if you make a well-organized chore list, you can tackle all your household tasks more effectively.
Think of it like a to-do list but for house chores. It could include your cleaning schedule, a weekly grocery run, laundry, daily vacuuming, floor scrubbing, lawn upkeep, tending to the garden, etc.
Below, we provide a chore list that you can use as a reference or inspire you to create one for yourself. Trust us on this – the more efficient you are, the more extra time you can have for yourself.
Why You Need a Household Chores List
You have a house to maintain, a toddler to look after, and a part-time job in the evening. How do you manage? Surely not with a haphazard schedule in your head that leaves you feeling overwhelmed and unmotivated.
A chore list could be just the solution. It shows you all the tasks you need to do on paper, lowering your mental burden. Instead of having to remember every house chore you need to do, you can just refer to your list.
Plus, marking off items on a to-do list is just so endorphin-boosting! The more chores you tick off, the better you feel.
The most notable benefit of a chores list is that you can delegate tasks. Now that there's a log highlighting what needs to be done, you don't have to do everything alone.
For example, you can delegate certain tasks to your partner. Then, share tasks with your children, too. Everyone can pitch in – yes, even your preschooler. Some age-appropriate chores for your little one include picking up toys, setting the table, wiping counters, and helping with laundry. It's also great parenting because you're teaching them a life skill.
A house chore list also ensures the timely completion of all tasks. You won't have laundry on your chair from two weeks ago or dishes gathering mold in the sink. If you follow the cleaning checklist, you'd have accomplished every task on the list by its respective timeline.
Finally, a chore chart reduces stress – there's less for you to worry about. You know what needs to be done and who's responsible for each task. Everything goes well this way.
The Frequency of Household Chores
You have to make your bed daily and declutter the kitchen daily. But you don't have to put away the groceries every day. Similarly, your home may need a deep clean every month, but light cleaning is an everyday chore.
So, when making a chore chart, distribute tasks by frequency. Which ones do you need to do daily? Which are done weekly or monthly? Let's look at each type individually.
List of Daily Chores
These are the household chores you need to do daily. Here's a daily chores list to consider:
-
Making the beds
-
Washing the dishes
-
Sweeping the floors
-
Taking out the trash
-
Wiping down countertops and surfaces
-
Packing school lunches
-
Meal prepping
-
Walking the dog(s)
-
Feeding the pets and providing them with fresh water
-
Decluttering living spaces
-
Checking the mail
These are just the tasks included in housework. Some tasks are personal, too. For example, if you go to college, your additional chores may be to sort your books and notes. If you have a toddler, you may be in charge of their bath time and nightly reading session.
The key to completing daily household chores is to make them a habit. If you can make them part of your routine, it'll be easier to keep up with them. For example, you can make your bed as soon as you wake up or wash dishes right after each meal.
List of Weekly Chores
Here are the tasks you need to do every week:
-
Cleaning the bathroom(s)
-
Doing laundry
-
Grocery shopping
-
Watering plants
-
Mowing the lawn
-
Changing towels and bed sheets
-
Dusting window sills and shelves
-
Mopping floors
-
Spot cleaning upholstery
-
Vacuuming carpets and rugs
These chores require more time and effort compared to daily tasks. However, it's best to break them down into smaller tasks throughout the week. For example, you can do laundry on a specific day, clean the bathroom on another day, and so on.
Don't try to do all these tasks on the weekend. You won't find time to relax if you do.
Involve the whole family in weekly tasks. One person does the grocery, the other takes it out of the car, and another puts it away in the fridge and pantry.

List of Monthly Chores
The monthly chore list includes the following:
-
Deep cleaning the fridge, oven, and microwave
-
Clearing out the pantry and fridge of expired items
-
Washing mirrors, windows, and doors
-
Cleaning ceiling fans and light fixtures
-
Dusting furniture
-
Washing curtains, bedding, and pillows
-
Disinfecting and cleaning garbage bins
-
Bathing the dogs and other pets
-
Vacuuming the car
If you have a garden, you may also want to weed it out and prune plants at least once a month. You might also have to sweep the pathways around the garden, so that's another chore on your list.
Besides garden care, you should also perform vehicle maintenance every month. For instance, clean your car, both inside and outside. Change the oil if needed. Also, check tire pressure and refill any fluids as required.
Household Chores by Type
Besides frequency, you can also categorize household chores by type. Some types include deep cleaning, laundry, organization, child care, shopping, etc. People with special needs or large families may also have to do additional chores, such as administering medication or preparing meals.
Again, you can create your lists based on your needs. Here's our standard list as a reference.
Laundry Chores
These are all the chores related to laundry:
-
Sorting laundry and pretreating stains
-
Washing, drying, and folding clothes
-
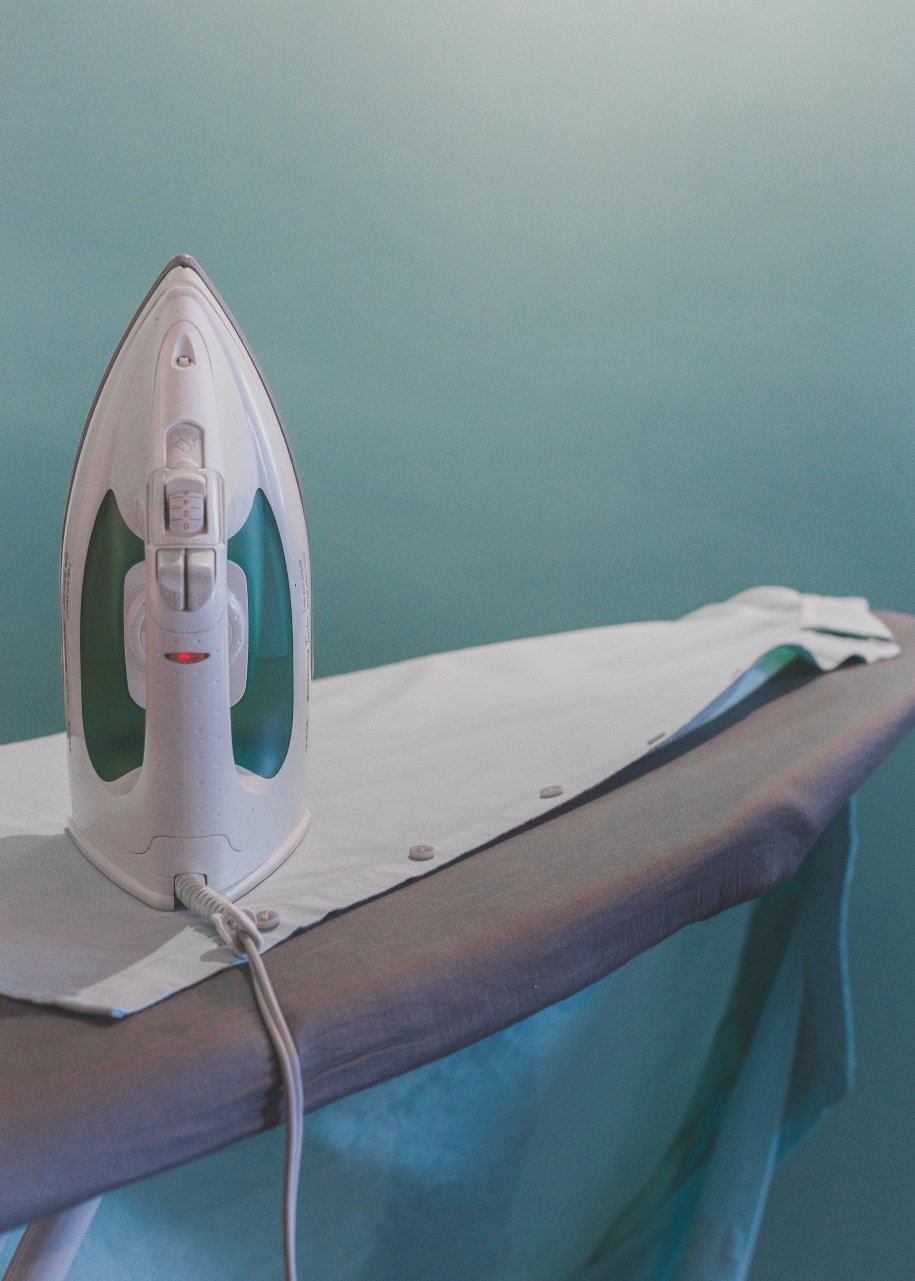
Ironing garments
-
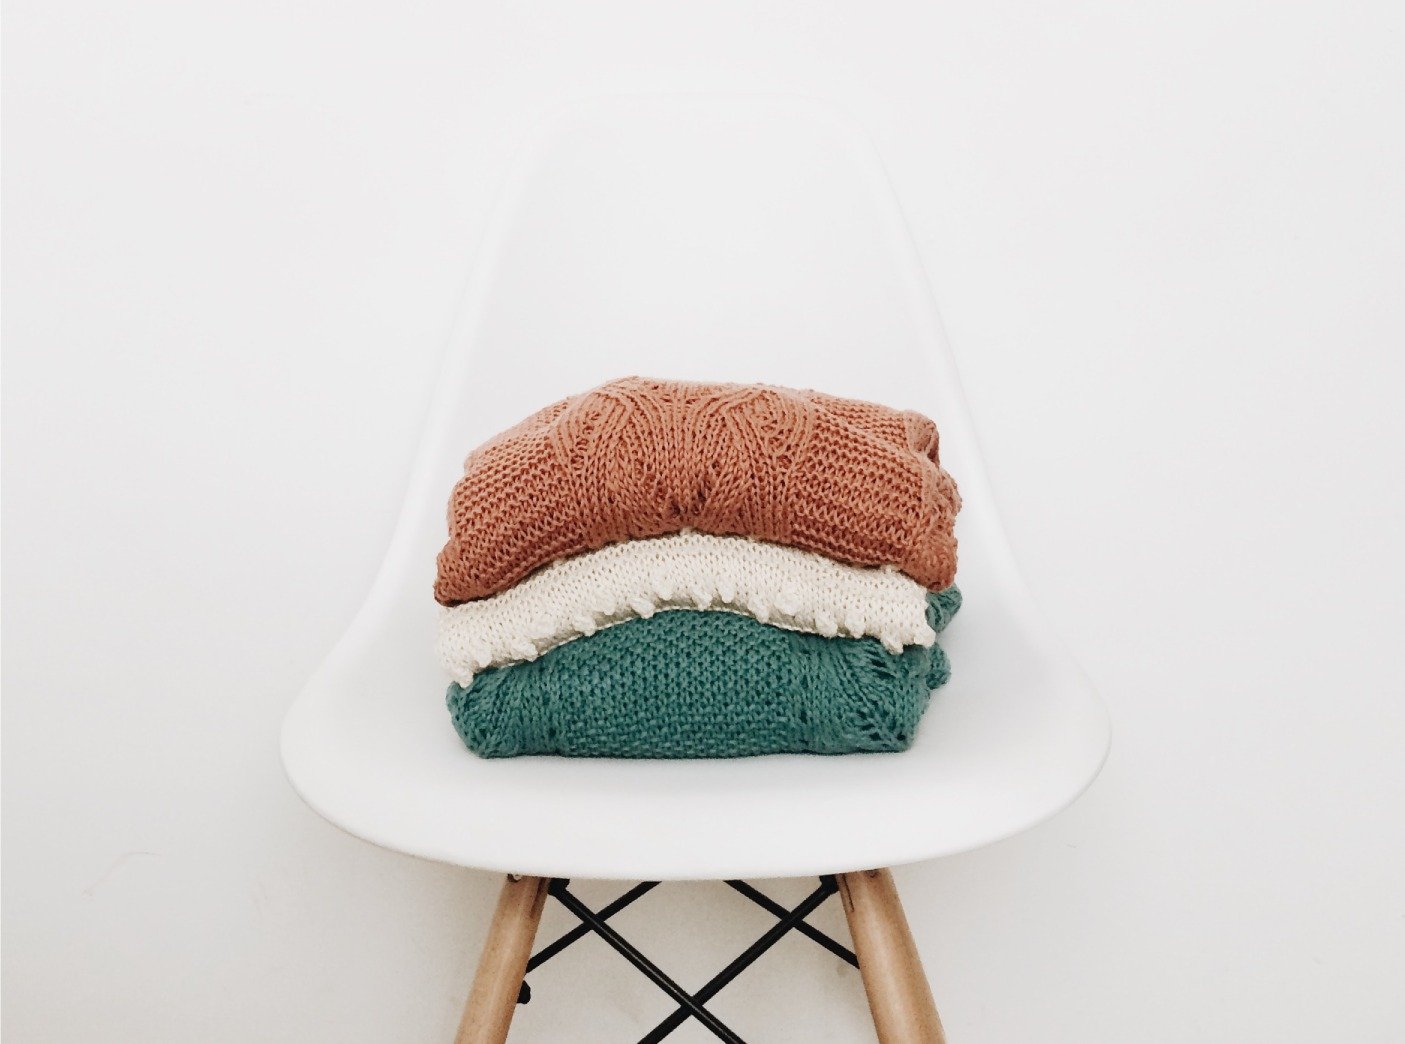
Storing clean clothes
- Keeping laundry room organized
How many and how often you do these tasks depends on how many people live in your house. Some families prefer to do one load of laundry each day, while others choose a specific day for all their laundry.
You may have additional laundry chores if you're an adventure enthusiast or if you have a baby. For example, if you camp or hike a lot, you'll have your gear and sleeping bag to wash. Parents with babies will have to wash bibs and extra baby clothes.
Cleaning Chores
Here are some standard cleaning chores:
-
Mopping and sweeping the floors
-
Scrubbing the toilets, sinks, bathtubs and showers
-
Dusting shelves and surfaces
-
Cleaning windows and mirrors
-
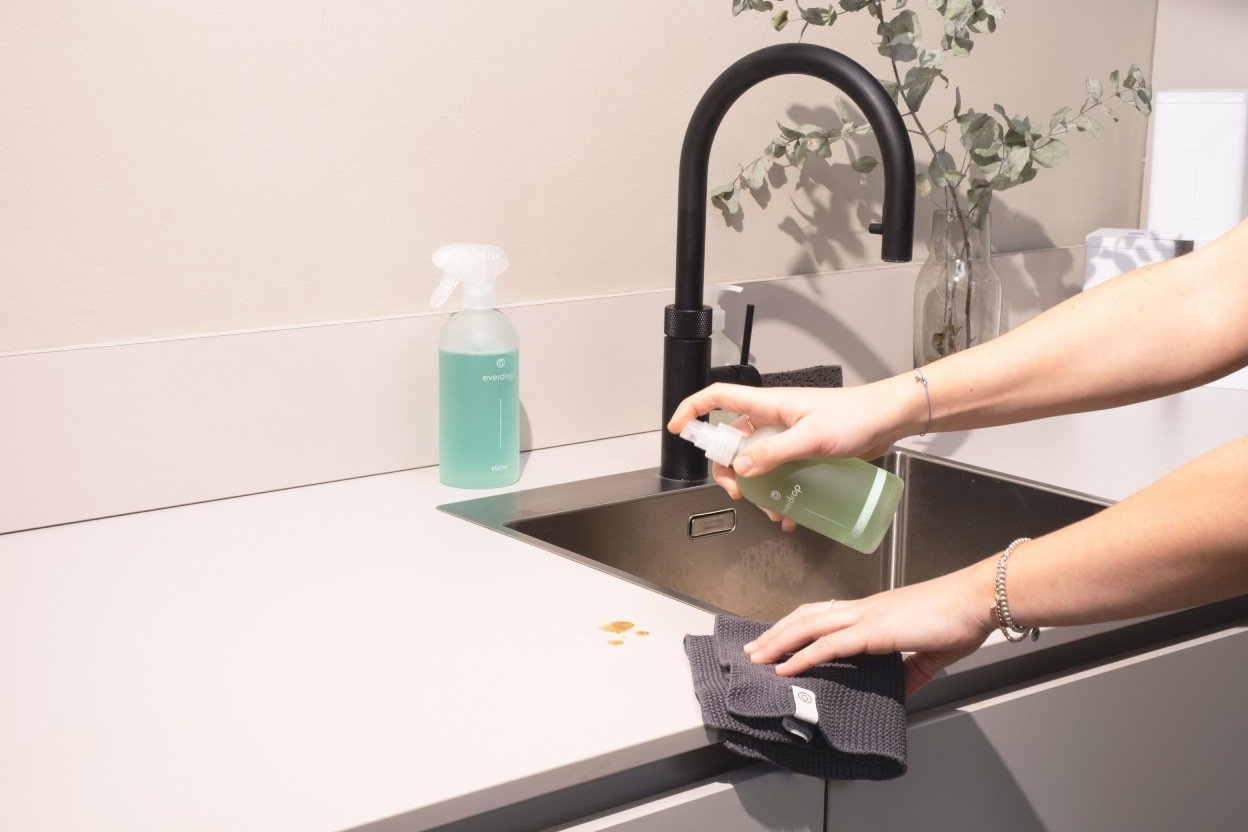
Cleaning the kitchen (countertops, stovetop, oven, microwave)
-
Taking out the trash and recycling
-
Sanitizing high-traffic surfaces like doorknobs, light switches remotes, and door handles
The cleaning chore chart should be on the fridge. Print out a new one every week or month based on your cleaning frequency. Specify things like how often to sanitize dirty surfaces, dust shelves, wipe counters, or tidy up the kitchen. Also, write the names of the people responsible for those tasks before the chore.
Or, you can create a Google Sheet and share it with your family or roommates. Make sure everyone updates their progress regularly.
Organization Chores
These are more involved and happen less often. But then again, it all depends on your lifestyle. If you have kids or pets, you'll be organizing something pretty much every day. Similarly, if you're a neat freak, this might be your daily grind.
Some organization chores include:
-
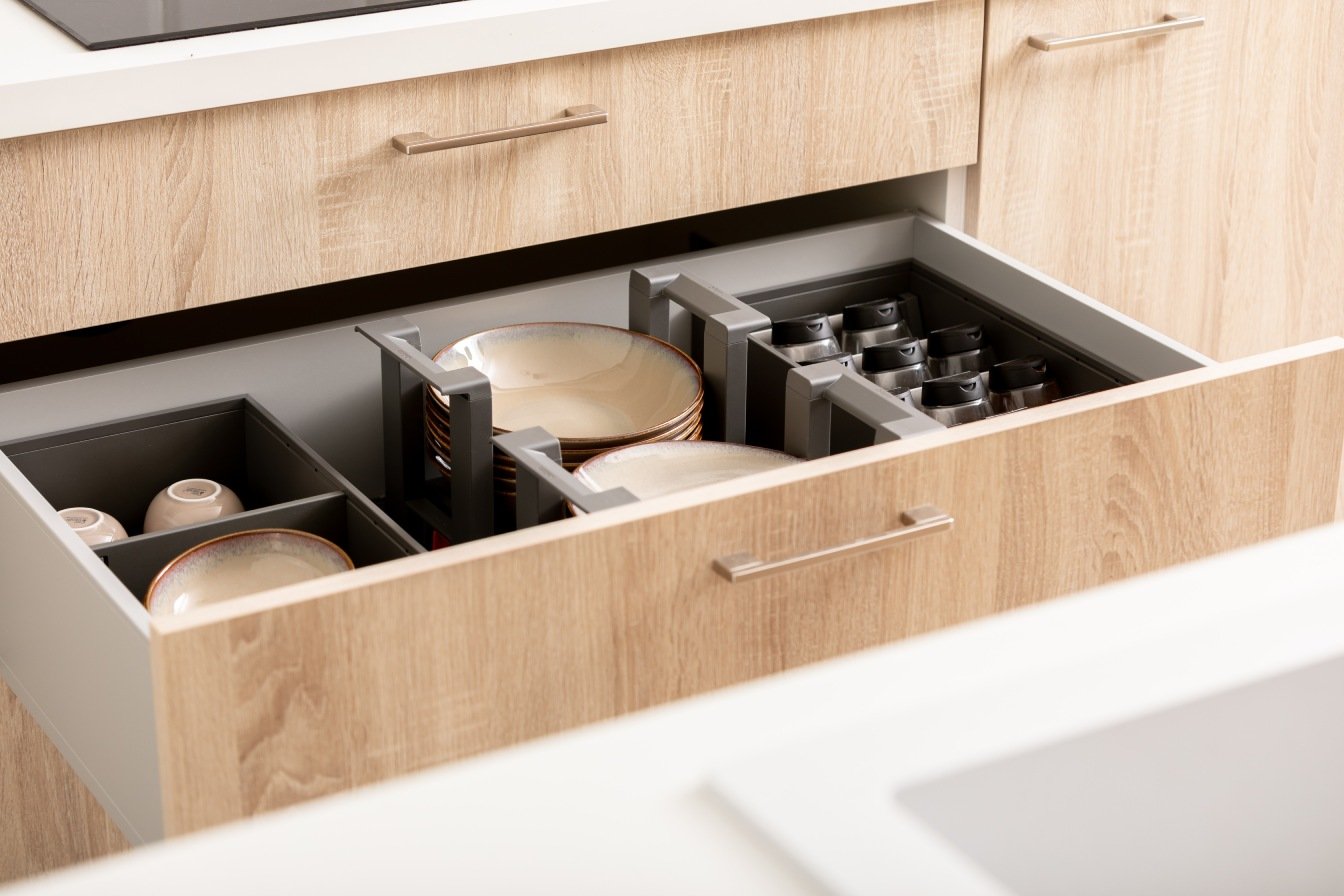
Organizing the drawers and closets, including kitchen cabinets
-
Sorting through piles of clutter and paperwork
-
Rearranging furniture
-
Donating or selling unused items
-
Putting away seasonal clothing and decor
-
Labeling storage containers to find what you need easily
As you can see, organization chores aren't something you'd do daily. You can do them on a free weekend or during holidays when you have more time.
Depending on your lifestyle, it's best to let everyone do their own set of organization tasks. For example, if you have grown kids, they should organize their closets themselves. After all, they're the ones who have to scour through their stuff when looking for something.
Likewise, the person who cooks in the house should be responsible for organizing the kitchen cabinets and pantry. It will make their cooking process much smoother and faster if they know exactly where everything is.
Everyone should make bags of items they want to donate. Then, one person can drop them off at the donation center.
When you work together, things get done faster. It's not only unfair for one person to do everything, but it also creates chaos. Plus, the person responsible for everything will always be stressed and overwhelmed, which is a huge no-no.
The Secret for a Clean, Organized Home
Having said all that, it's quite clear that proper organization is the key to a well-managed home. Having and following a chore list just makes things easier and more manageable. It also reduces your mental and emotional toil.
Every once in a while, it helps to outsource your chores. There's nothing wrong with taking a break or treating yourself to a cleaning service or professional organizer. For example, if you've had a long week and don't want to mop, scrub the baseboard, clean the dishwasher, or vacuum the carpet, you can hire someone to do it for you.
Similarly, when you're creating a spring cleaning checklist for your home, see if there are tasks you can outsource. For example, you can hire professional laundry services for washing bedding, curtains, seasonal clothes, towels, etc.
Rinse is a professional laundry service that picks up laundry from your doorstep and drops it there afterward. Thanks to Rinse's expertise in washing all sorts of fabrics and items, you don't have to worry about your whites getting stained or the down in your comforters getting ruined.
Contact us at Rinse today to see our skill in action.

Learn about the sustainable magic of dryer balls as an efficient, chemical-free alternative to traditional fabric softeners and dryer sheets. This article explains their composition, functionality, and benefits and shares best practices for utilizing them effectively in your laundry routine. Simplify your laundry care while embracing a more sustainable approach with Rinse.
Introduction
In the realm of laundry, innovation often takes center stage in the quest for efficiency, sustainability, and eco-friendliness. One such novelty that has been making waves is the humble, yet remarkable dryer ball – an eco-friendly and efficient alternative to traditional fabric softeners and dryer sheets.
These tennis ball-sized wonders are alluring in their simplicity and sustainability. Unlike conventional laundry products, dryer balls offer a chemical-free and environmentally conscious approach to laundry care.
With the ever-increasing emphasis on sustainable living and eco-conscious choices, interest in adopting greener laundry practices is also rising. This is where dryer balls enter the spotlight. They are at the forefront of a laundry revolution that prioritizes both the well-being of your clothes and the health of our planet.

What are Dryer Balls
Wool dryer balls are simple yet ingenious laundry aids can be made from natural materials such as rubber, but wool is most common. The latter material is very effective due to its exceptional properties: absorbency, durability, and ability to withstand heat.
The wool yarn is expertly wound and felted to create compact and dense spheres. This process results in the formation of solid and smooth balls that are gentle on clothes. The absence of chemicals and additives makes them a healthy choice for your laundry, with brands such as Woolzies and Friendsheep specializing in this department.
How Do Dryer Balls Work
But how do these unassuming balls of wool or rubber work their sustainable magic? The secret lies in their role during the drying process. As your laundry tumbles in the dryer, the dryer balls come into action. They create space between your clothes, preventing them from sticking together and facilitating better air circulation.
This enhanced air circulation leads to more efficient drying, ultimately reducing the time needed in the dryer, and therefore, energy consumption. As your clothes dance with the dryer balls, they also experience gentle agitation, which helps prevent the formation of wrinkles and the annoying problem of static cling.
Incorporating dryer balls into your laundry routine means saying goodbye to the need for fabric softeners or dryer sheets. They naturally fluff and soften your clothes, leaving them with a fresh, clean scent, but leave out the synthetic fragrance.
For those with sensitive skin or a preference for unscented laundry, dryer balls are a game-changer. They eliminate the need for chemical-laden products, ensuring that your laundry comes out soft, static-free, and smelling like nothing but clean.
How to Use Dryer Balls
As we dive deeper into the sustainable wonders of dryer balls, it's crucial to understand not only what they are but also how to effectively incorporate them into your laundry routine. Here's how to make the most of them:
-
Load Size Matters: The number of dryer balls you use should align with the size of your laundry load. For small loads, two to three dryer balls are usually sufficient. For larger loads, consider adding more to ensure that every garment benefits from their magic.
-
Fabric Compatibility: While dryer balls are versatile, they perform best with natural fibers like cotton and wool. These fabrics tend to benefit most from the gentle agitation and enhanced air circulation provided by the dryer balls. For synthetic fabrics, you can still use dryer balls, but the results may vary.
-
Desired Softness: Achieving the level of softness you desire is within your control when using dryer balls. If you prefer extra softness, simply add a few drops of your favorite essential oil to the dryer balls before use. This way, your laundry not only comes out soft but also lightly scented with a fragrance you love.
-
Different Types of Laundry: Dryer balls are versatile enough to work well with various types of laundry. For towels and bedding, which tend to get stiff, dryer balls are a true hack. They help maintain the fluffiness of your towels and bedding, leaving them soft and inviting.
-
Efficient Circulation: To maximize the effectiveness of dryer balls, ensure that your laundry load is well-balanced weight-wise. A balanced load allows the dryer balls to circulate freely among your clothes, creating the necessary space for optimal air circulation and efficient drying.
Benefits of Using Dryer Balls
Now that we have a handle on what dryer balls are and how to use them, here are some additional benefits they provide for your laundry:
-
Preventing Wrinkles: Dryer balls aren't just about fluffing your laundry; they also help prevent wrinkles. As they tumble alongside your clothes in the dryer, they create space between the garments. This space allows for improved airflow, reducing the likelihood of clothes getting tangled and wrinkled. The result? Smoother, wrinkle-free laundry.
-
Minimizing Drying Time: One of the standout benefits of dryer balls is their ability to shorten the time spent in the clothes dryer. As mentioned above, they help create separation between your clothes, allowing an enhanced airflow that lets your laundry dry more efficiently. It is not just time you're saving, but also money as your utilities bill will come out lower.
-
Softening Fabrics Naturally: Perhaps one of the most appreciated advantages of dryer balls is their natural fabric softening ability. Without the need for chemical-laden fabric softeners or dryer sheets, these sustainable wonders soften your clothes by gently agitating them during the drying process. The result is garments that are soft, fluffy, and comfortable against your skin.
-
Cost-Effectiveness: Dryer balls are an economical choice for your laundry routine. Unlike single-use dryer sheets, which need frequent replacement, dryer balls are durable and reusable. A set of dryer balls can last for numerous laundry cycles, making them a cost-effective choice in the long run.
-
Eco-Friendly and Reusable: One of the remarkable benefits of dryer balls is their eco-friendliness. They are typically made from materials like wool, which is biodegradable and compostable. Plus, they are reusable, which means you can enjoy their benefits for many laundry cycles, further reducing your environmental impact.
Embrace a New Level of Softness with Rinse
Now that you're well-versed in the science behind dryer balls and how they can revolutionize your laundry routine, let's explore how to take your laundry experience to the next level with Rinse.
At Rinse, we share your commitment to a sustainable and efficient approach to laundry care. We understand that achieving soft, fresh, and eco-friendly laundry results is a priority for our customers.
Our process is simple yet effective. When you entrust your laundry to Rinse, you can expect:
-
Wrinkle-Free Convenience: With Rinse, wrinkled garments will be a thing of the past. Our cleaning practices are tried and tested, leaving your clothes looking fresh and neat.
-
Eco-Friendly Commitment: Rinse shares your dedication to sustainability. We aim to minimize the environmental impact of laundry and dry cleaning and strive to contribute to a greener planet.
So, why not simplify your laundry chores and embrace a new level of care with Rinse? Say goodbye to the hassle of laundry day and hello to fresh, eco-friendly, and perfectly soft clothes. Join us in making a difference, one load of laundry at a time.
Contact us at Rinse today to see our skill in action.
Topics
Rinse Drop
We offer pickup and delivery if you can’t be present between 8pm and 10pm.
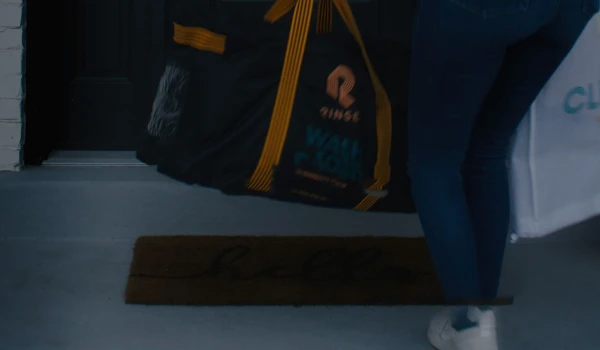
Our Valet will pick up or deliver your order to your doorstep or concierge, at which point you’ll receive a text with a photo showing where your items were left.
You can enable Rinse Drop on any (or all) of your orders.