Cleaning
Preparation
Before you wash your shirt, undo all the buttons—including the button cuffs—and remove any collar stays.

Pre-treat stains
For any food, ink, or sweat stains, you can pre-treat them with a stain remover. Let the formula soak in the fabric for about 20 minutes before you continue cleaning.
Wash
Wash shirts in cold water using the delicate cycle on your washing machine. If you’re dealing with oil-based stains, warm water will improve the chances of the stain washing out. Just make sure you don’t do this too often as repeated warm washing can cause colors to fade.
Drying
Hang the shirt to dry on a plastic hanger and button up the top two buttons to maintain the shirt’s shape. If you want to get ahead of ironing, you can put the shirt in the dryer on permanent press mode but make sure it’s only in the dryer for six to eight minutes max.
Ironing

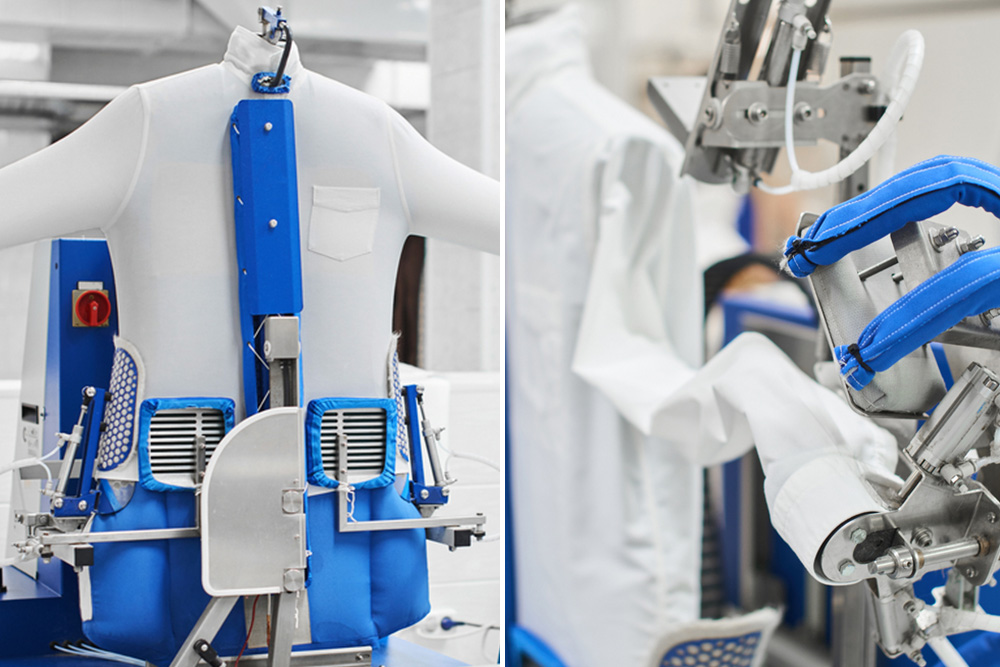
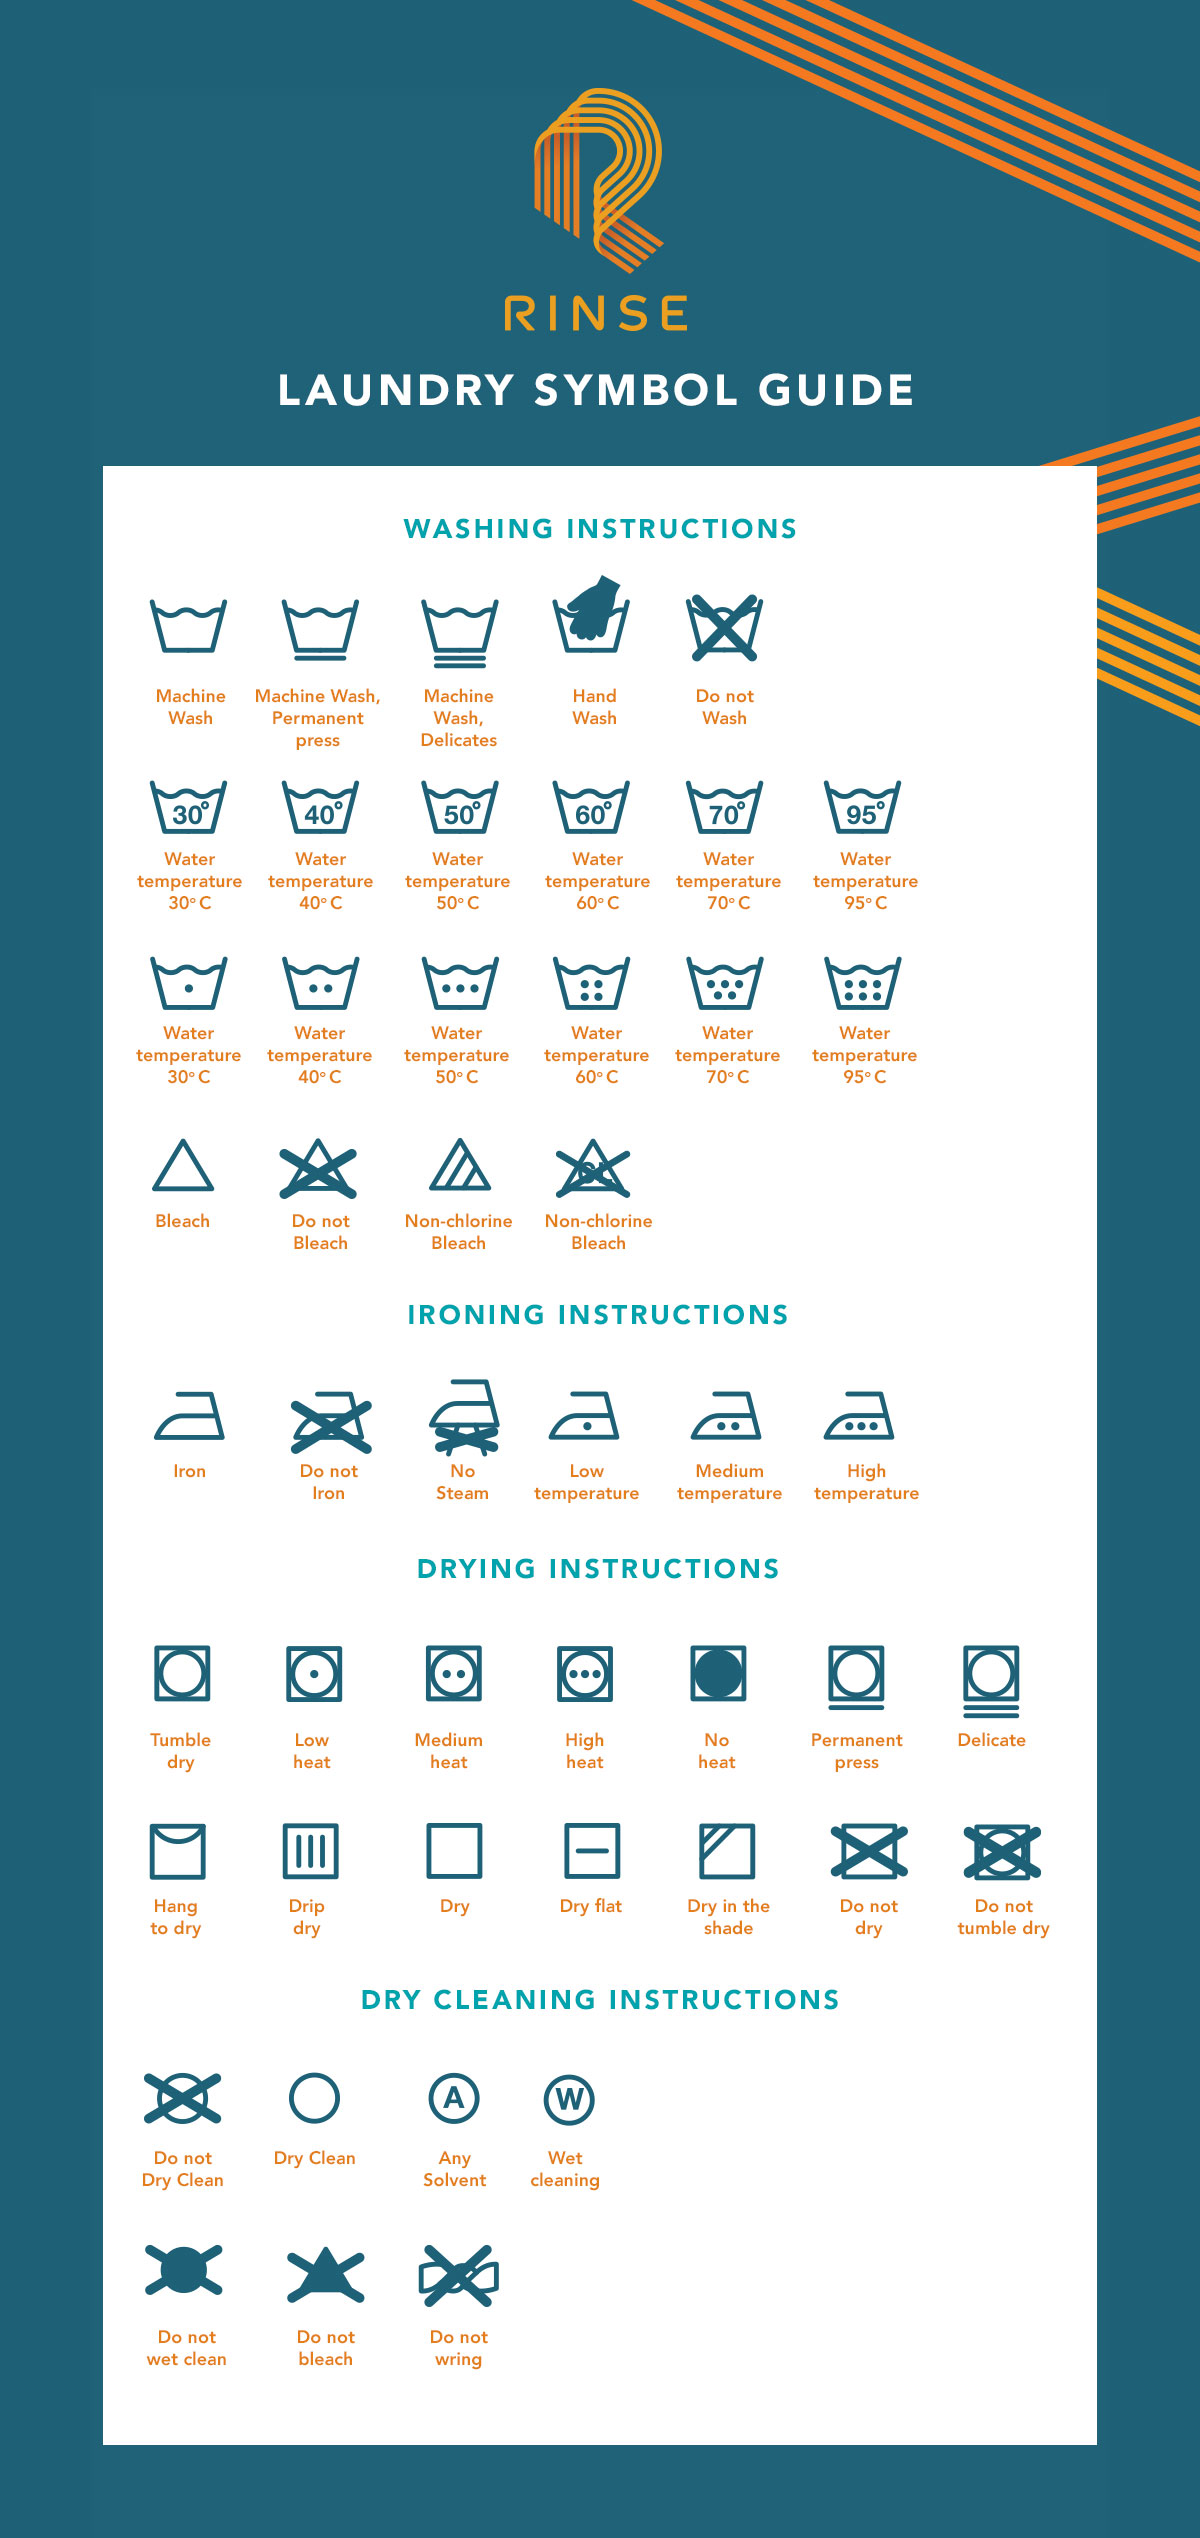
Check the shirt’s label for its fabric content so you can select the appropriate heat setting on your iron. Cotton shirts or cotton-blend shirts can typically withstand higher heat than ones made of synthetic fibers (e.g. polyester), which require a lower temperature. For best results, shirts should be slightly moist. If you prefer a crisp finish to your shirt, use spray starch or iron the outside of the shirt first, then flip it inside out to iron the inside.
Start with the collar
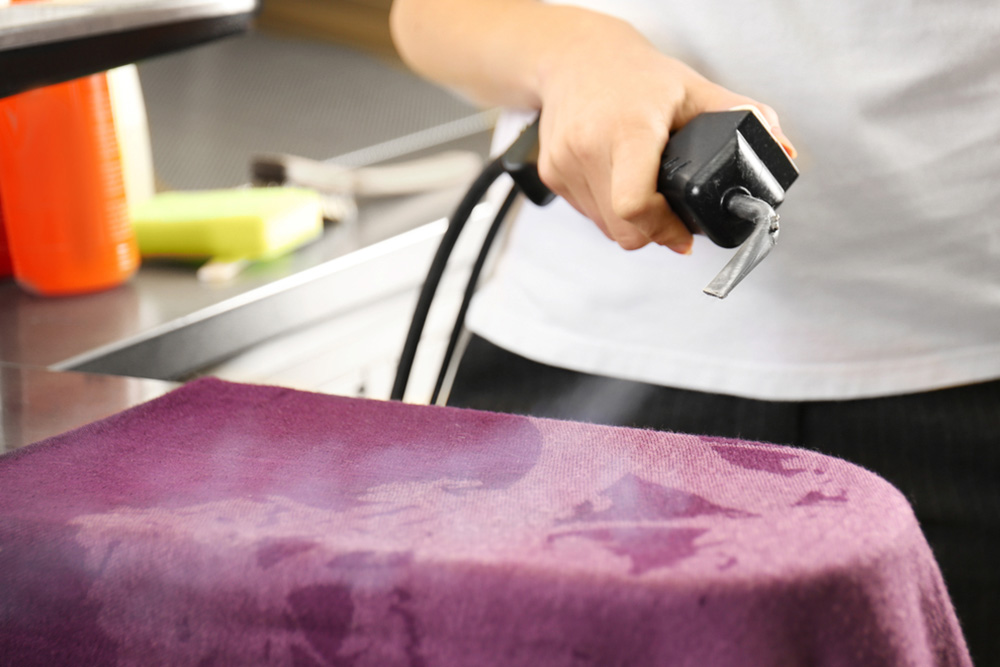
Spray the shirt collar with water to lightly moisten it. Lay the collar flat and start ironing the underside from one point to another. Flip the collar over and repeat on the other side.
Move onto the cuffs
Spread the button cuffs open. Iron both sides of the cuff but avoid ironing over the buttons.
Iron the front of the shirt
Move the iron carefully around the shirt’s front buttons. Iron each side of the shirt, moving the iron from the shoulder down to the bottom.
Iron the back of the shirt
Anchor one of the shirt’s sleeves into the square edge of your ironing board and lay the shirt flat. Start ironing at the top of the shirt and then move the iron down. Slide the shirt over to iron the other half of the shirt.
Finish with the sleeves
Use the sleeve seam as your guide for laying the shirt sleeve flat on the ironing board. Make sure the sleeve is flat and smooth before you iron or else you may be cementing creases on the other side. Start ironing from the top of the sleeve to the cuff. Flip over and repeat on the other side, and then move onto the other sleeve.
Storage

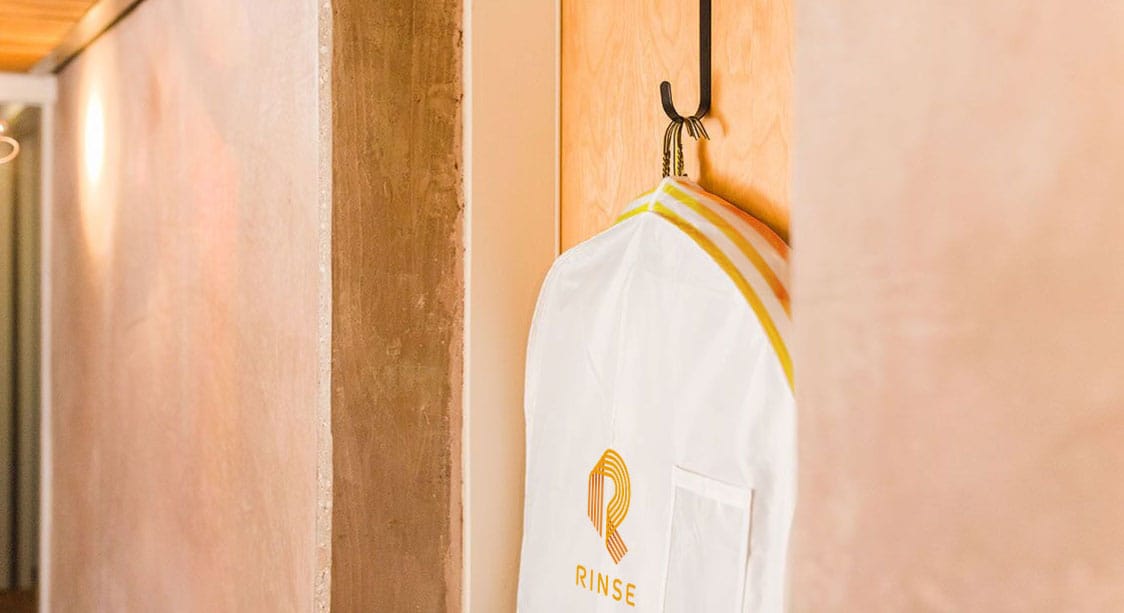
Everyday shirts should be fully buttoned, hung on a sturdy hanger, and stored in your closet. For shirts that you don’t wear often, store them in a cotton garment bag. The cotton allows for air to circulate and prevents the shirts from yellowing.
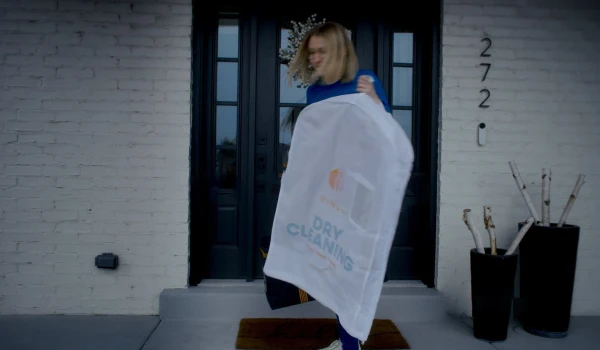
Knowing how to properly care for your button-down shirts will ensure they stay as clean and crisp as the day you bought them. For days when your schedule is running you ragged, you can bring your button-down shirts to a dry cleaner, who will provide a professional clean and press service for your wardrobe’s most essential pieces. You can also check if you're in Rinse's service area to have your clothes picked up, professionally cleaned, and hand-delivered to your door.
Photos: O_Lypa / Shutterstock.com, chuugo / Shutterstock.com, Di Studio / Shutterstock.com, TaraPatta / Shutterstock.com

